A glass jar arrives at your door already fit for a second life, and the only thing standing between it and reuse is the label. Food labels are bonded with adhesives engineered to survive refrigeration, condensation and stacking pressure, so the glue that keeps a jar presentable on a shelf is also the reason a perfectly good container ends up in the bin.
The most reliable approach is a two stage soak. Submerge the jar in hot water with half a cup of baking soda and a few drops of dish soap for 20 to 30 minutes, slide the softened paper away, then work a paste of equal parts baking soda and cooking oil into the remaining adhesive. Heat and alkali loosen the paper and swell the glue, while the oil breaks the adhesive’s grip without abrading the glass. Nine out of ten food labels release this way with no blade and no steel wool.
The method takes a sentence to describe, but temperature, timing and tool choice decide whether the jar finishes clear or permanently cloudy.
What Is the Easiest Way to Remove Labels From Glass Jars
The soak wins because it attacks both things holding a label in place at once: the paper’s fibre structure and the adhesive beneath it. Water alone softens paper but leaves glue intact, alkali alone breaks the glue but cannot reach it through dry paper, and heat removes both limits together.
The Hot Water and Baking Soda Soak
- Peel off whatever lifts by hand and leave the stubborn centre alone.
- Fill a basin with water at 60 to 70 degrees Celsius.
- Stir in half a cup of baking soda and two drops of dish soap.
- Submerge the jars, weighting them if they float, for 20 to 30 minutes.
- Slide the label off with your thumb, returning any that resist for another 10 minutes.
- Rinse warm, then treat residue with the oil paste below.
Let chilled jars reach room temperature first, because water much above 70 degrees risks thermal shock, and keep metal lids out of the soak, since alkaline water strips their coating at the rim.
Why Heat and Alkali Break the Bond
Most container labels carry pressure-sensitive adhesives, which bond through surface contact and viscoelastic flow rather than a chemical reaction with the glass. Because the bond is physical, it reverses when temperature and surface energy change, with no need to dissolve the polymer. Warming drops the adhesive’s viscosity so it lets go, and an alkaline solution swells the paper’s starch and cellulose, which is why a label lifts as a sheet instead of shredding into pulp.
Four Household Methods Compared
No single method handles every label, so the choice depends on the face material and how long the glue has cured.
| Method | Best for | Working time | Glass safety | Food contact after rinsing |
| Hot water, baking soda, dish soap | Paper labels, water-based glue | 20 to 30 minutes | Excellent | Yes |
| Baking soda and oil paste | Adhesive residue, film labels | 10 to 20 minutes | Excellent | Yes, with degreasing |
| White vinegar compress | Thin paper, light adhesive | 15 to 20 minutes | Excellent | Yes |
| Alcohol or solvent spray | Vinyl, foil, synthetic labels | 2 to 10 minutes | Good, avoid printed areas | Only after thorough washing |
Baking Soda and Dish Soap
The default for paper, and the only option that scales to a sink full of jars. Soap lowers surface tension so water reaches the label edge faster, while baking soda keeps the solution alkaline as it works.
Cooking Oil Paste
Equal parts baking soda and any cooking oil form a paste that stays put on vertical surfaces. The oil bonds with the adhesive’s polymer chains and the baking soda supplies gentle grit. Leave it 10 to 15 minutes, then rub with a damp cloth.
White Vinegar
Acetic acid weakens adhesive bonds and cuts the mineral film that leaves older jars looking dull. Saturate a paper towel, press it over the label, and keep it wet for 15 minutes. The same bottle then handles the follow up wash, which is why a guide to clean glassware with vinegar covers both jobs. It works slower than heat on thick paper, so give it dwell time.
Rubbing Alcohol and Solvent Sprays
Alcohol and citrus solvents cut synthetic adhesives in seconds and evaporate without leaving oil. The trade-off is that they can lift screen printed decoration and dull frosted surfaces, so keep them on bare glass.
How to Remove Sticker Residue Without Scratching the Glass
Residue is where jars get ruined, usually by the tool rather than the chemical. A plastic edge and a soft cloth lift adhesive cleanly, while a razor blade leaves grooves that hold grime and cloud for good.
Tools That Lift Glue Without Marking Glass
Use an old credit card, a silicone spatula or a plastic pan scraper, held at about 30 degrees, and push rather than dig. On embossed panels switch to a soft toothbrush, which follows the surface instead of bridging it.
What Not to Use on Glass
Keep four things away. Steel wool leaves metal transfer marks that mimic scratches. Razor blades score glass at a hardness close to the glass itself. Abrasive cleansers permanently dull etched or sandblasted finishes, with no way back. Acetone and lacquer thinner attack printed decoration, sprayed colour and any silicone gasket in a lid.
Does WD-40 Remove Adhesive From Glass
Yes. A petroleum-based multi-purpose spray lubricant dissolves label adhesive, does not harm bare glass, and works faster than oil on aged glue. The catch is that it is not food safe and leaves an oily film that must be washed off with detergent before the jar holds anything edible.
How to Use It Correctly
Work with a window open, since the solvent smell lingers. Spray the residue directly rather than onto a cloth, so the product reaches the adhesive instead of evaporating on fabric. Let it sit three to five minutes, apply again on heavy glue, then wipe with a dry rag. Wash with hot water and dish soap, and repeat the wash. What you are removing is a petroleum distillate, and it will migrate into anything fatty or acidic stored afterwards.
When a Food-Safe Method Is Better
Skip the spray for jars returning to food, and for anything resold or gifted. The oil and baking soda paste achieves a comparable result with ingredients that are harmless if a trace remains. On painted or frosted glass the spray adds solvent exposure for no gain. Its real advantage is speed on one stubborn jar, not throughput across a batch.
How to Peel Off a Label Without Ruining It
Peeling a label intact calls for the opposite strategy: keep the paper dry, warm the adhesive from behind, and pull slowly at a shallow angle. Water is the enemy here, because a soaked label tears along its own fibre lines before the glue releases.
Paper Labels
Run a hairdryer on its lowest setting about 15 centimetres away, sweeping across the label for 30 to 60 seconds. The glass should feel warm, not hot. Lift one corner with a fingernail and pull back almost parallel to the surface, at roughly two centimetres per second. Fast pulls shear paper, slow pulls persuade adhesive.
Vinyl and Plastic Labels
Synthetic labels tolerate more heat, so warm them longer and guide a plastic card underneath as you peel. If the film stretches instead of releasing, the adhesive is too cool, so add heat rather than force. A few minutes in the freezer also works on some film labels, because cold makes the adhesive brittle enough to snap away cleanly.
Lifting the First Corner
The first corner decides the outcome, so start where the label already shows a slight lift and never at the centre. Slide a plastic card flat under the edge to spread the force. If the label has yellowed, expect brittleness from ultraviolet exposure and accept that some cannot be saved.
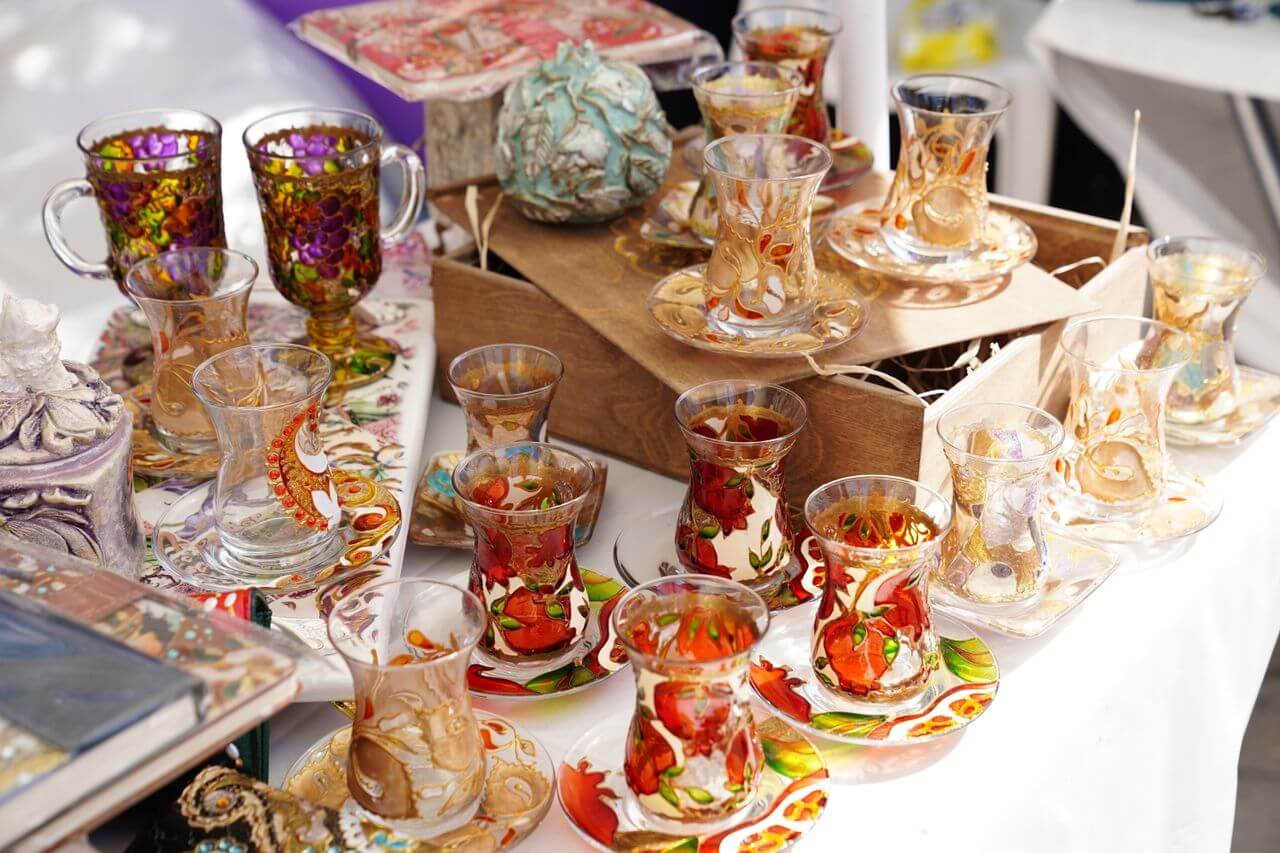
How to Remove a Brand Name Printed Directly on the Glass
Whether a printed brand name comes off depends on how it was applied, and for the most common method the answer is that it cannot. If the brand mark is fired into the glass as ceramic ink, no soak or solvent will touch it. If it sits on a paper or film label, it leaves with the label.
Identify the Decoration Type First
Run a fingernail across the mark and match what you feel to the table.
| Decoration type | How it feels | Removable |
| Paper or film label with a printed brand | Slight raised edge, peels at a corner | Yes, standard label removal |
| Fired ceramic print, also called applied ceramic labelling | Flush with the glass, glassy, no edge | No, fused into the surface |
| Acid etched or sandblasted logo | Matte, faintly recessed, no colour | No, the glass itself is altered |
| Sprayed colour coating or organic paint | Uniform colour film, can chip | Partly, with solvent, at the cost of finish |
Fired ceramic decoration is screen printed with a vitreous enamel ink and passed through a decorating lehr at around 600 degrees Celsius, which fuses pigment into the surface. It is the process described under secondary processing in the standard account of glass production, and it is why the result is permanent rather than applied.
What Works and What Does Not
Polishing a fired print with cerium oxide or fine diamond compound will wear the decoration back, but it also polishes the surrounding glass, leaving a flat spot visible under raking light, and the localised heat carries a breakage risk on thin walled jars. Chemical strippers achieve nothing but hazardous waste. The honest answer is to cover a fired brand mark rather than remove it, with a new label, a shrink wrap or a painted band.
Why Decoration Choice Should Be Settled at the Order Stage
Decoration method decides whether packaging can be rebranded, and that carries a direct cost. A label comes off and goes back on in minutes with no equipment. A fired print is permanent, so a brand refresh means new glass. Buyers ordering glass jars with lids for a product line with an unsettled identity should weigh that against the premium look of a direct print, and many choose a label to keep the option open.
How to Clean and Prepare Jars After Label Removal
A jar with no label is not yet a clean jar. Oil film, alkaline residue and trace adhesive all survive a quick rinse, and each affects what the jar can hold next.
Removing the Oil Film
Oil is the usual leftover, because every paste depends on it. Wash in the hottest water you can handle with a detergent built to cut grease, then rinse twice. If water still beads instead of sheeting evenly, film remains and the wash needs repeating.
Sterilizing Before Refilling
Any jar returning to food storage needs more than washing. Boiling water, steam or dry oven heat all work, and the choice depends on jar size and whether the glass is heat treated. Timings sit in this guide on how to sterilize a glass jar before refilling.
Drying and Storage
Dry upside down on a clean towel, then air completely before fitting lids. Moisture trapped under a lid produces the musty smell people mistake for dirty glass, and wet jars stacked together etch a ring that no polishing removes.
Mistakes That Damage Glass Jars
Nearly every ruined jar is ruined by heat shock or abrasion, and both are avoidable with a small change in sequence.
| Mistake | What happens | Do this instead |
| Boiling water into a cold jar | Thermal shock, cracking or shattering | Warm gradually, start with hot tap water |
| Dishwashing a labelled jar | Heat sets the adhesive | Remove the label first, then wash |
| Soaking with metal lids attached | Rust ring and coating loss at the rim | Soak glass only, wash lids separately |
| Scraping with a blade or steel wool | Micro scratches that trap grime | Plastic card at a shallow angle |
| Abrasives on frosted or etched glass | Permanent loss of the matte finish | Oil paste and a soft cloth only |
| Multi day soaks in strong alkali | Surface etching and dull haze | Cap soaks at 30 to 60 minutes |
None of this affects recyclability, which matters if a jar does not survive. Labels, adhesive and even fired decoration burn off in the furnace, so a scarred or cloudy jar still belongs in the glass recycling stream rather than the bin.
Choosing Jars That Are Easier to De-Label
For anyone buying in volume, adhesive specification matters more than any removal technique. Two jars of identical size can differ by twenty minutes of labour per unit depending on the glue and label stock chosen at the factory.
Adhesive Types and Removal Difficulty
| Adhesive type | Typical use | Removal difficulty |
| Water-based or starch | Paper labels on dry goods and preserves | Low, releases in warm water |
| Hot melt | High speed lines, chilled and frozen products | Moderate, needs heat plus oil |
| Permanent acrylic | Beverages with long shelf life | High, needs solvent or a long soak |
| Removable or repositionable | Promotional and seasonal packaging | Very low, peels clean by hand |
If packaging will be refilled or resold, specifying a water-based or removable adhesive is worth raising at quotation stage. It costs little and removes a processing step downstream.
Label Placement and Wet-Strength Paper
Placement affects effort as much as chemistry. Labels wrapping across a curved shoulder tear on removal, because the paper cannot release evenly, so keeping artwork on the flat body panel speeds every method here. Wet-strength stock also helps, holding together through a hot soak instead of dissolving into pulp. Buyers sourcing wholesale glass jars for a reuse programme can usually specify both adhesive class and label geometry in one conversation.
FAQ
Three questions that sit just outside the removal process itself.
Will removing a label weaken the glass jar?
No. Adhesive sits on the surface and removal touches only the outermost microns. The exception is abrasive polishing of fired decoration, which thins the wall locally and counts as a structural change rather than cleaning.
Is label adhesive residue a food safety concern?
The adhesive is not formulated for food contact, so residue should be fully gone before refilling. Wash until water sheets evenly, then sterilize. Jars that held chemicals should not return to food at all, however clean they look.
Do jars need to be label free before recycling?
No. Labels, glue and printed decoration are consumed in the melting furnace and do not contaminate the new batch. Empty and rinse the jar, remove the lid, and check local rules on caps.