A mason jar spends its first life holding preserves and its second on a shelf, a party table, or a product listing. That second life is where most projects fail: paint beads, labels lift, twine slides down the shoulder, and a design that looked right on a workbench looks tired a month later.
Decorating a mason jar means four things done in order: prepare the glass so a coating can grip, choose a material that matches how the jar will be handled, build the design in thin layers rather than one heavy pass, and seal the surface so it survives washing and light. Do that and almost any material will hold; skip it and even professional-grade supplies will peel.
What follows works through each decision, from surface prep and jar selection to paint chemistry, etching, wraps, and labeling.
What Can You Use to Decorate a Mason Jar?
Almost any material that bonds to a smooth, non-porous surface will work, so the answer is not one product but five families: paints and coatings, papers and adhesives, textiles and trim, hardware and lids, and light or filler elements placed inside the jar.
Grouping supplies this way beats shopping by project, because each family fails predictably: coatings fail on oily glass, adhesives on thick paper, textiles when glue bleeds through the weave. Combine two families and stop.
| Material family | Examples | Strongest use |
| Paints and coatings | Glass enamel, acrylic, chalk paint, spray, glass stain | Color blocking, ombre, full coverage |
| Papers and adhesives | Decoupage medium, tissue, napkins, washi tape | Collage, stained glass effects, labels |
| Textiles and trim | Jute twine, burlap, lace, ribbon | Neck wraps, rustic bodies |
| Hardware and lids | Chalkboard lids, knobs, finials, pump tops | Apothecary jars, dispensers, lamps |
| Light and filler | Fairy lights, sand, pebbles, moss, wax | Lanterns, terrariums, candles |
Prepare the Surface Before Anything Else
Glass is the least forgiving craft surface available. It is non-porous, it carries mold release residue, and it picks up skin oils the moment you touch it.
- Soak the jar in hot soapy water for 15 minutes and peel the label while the adhesive is soft.
- Work off remaining glue with cooking oil, then wash again to strip the oil.
- Wipe every surface to be decorated with 70 percent isopropyl alcohol and a lint-free cloth.
- Air dry upside down for an hour, then handle the jar by the inside so no fingerprints land.
For stubborn residue, this sequence for remove labels from glass jars covers softeners that will not scratch the glass.
Choose the Right Mason Jar for the Design
Match the jar to the technique before buying supplies: wide mouth jars give brush access for interior work, standard mouth jars hold narrow wraps and suit small favors, tinted glass shifts how every color reads, and lid type decides whether the finished jar can store food or only display it.
Retail jars look interchangeable but differ in the dimensions that shape a finished piece. The history of the mason jar explains why: the format was standardized in the 1850s around a threaded lid and molded shoulder, and those proportions still govern what fits.
Mouth Size, Capacity, and Lid Type
Standard mouth jars measure about 70 mm across the opening; wide mouth jars run nearer 86 mm. The wider opening takes a sponge for interior coating and chunky fills, while the narrow one grips a textile wrap. Capacity should follow end use: 4 to 8 ounces for favors, 12 to 16 for staples, 32 and above for display. Metal lids seal but scratch, one-piece lids paint well, and wooden lids engrave but are not airtight.
Clear, Frosted, or Tinted Glass
Clear glass shows contents, which suits labels and pantry storage. Frosted glass diffuses contents and mimics etching without chemicals. Tinted glass shifts every color applied on top, so warm white reads cool and pastels read muddy. Custom decorative glass jars are usually specified by finish and mouth size together.
What Kind of Paint Should You Use on Mason Jars?
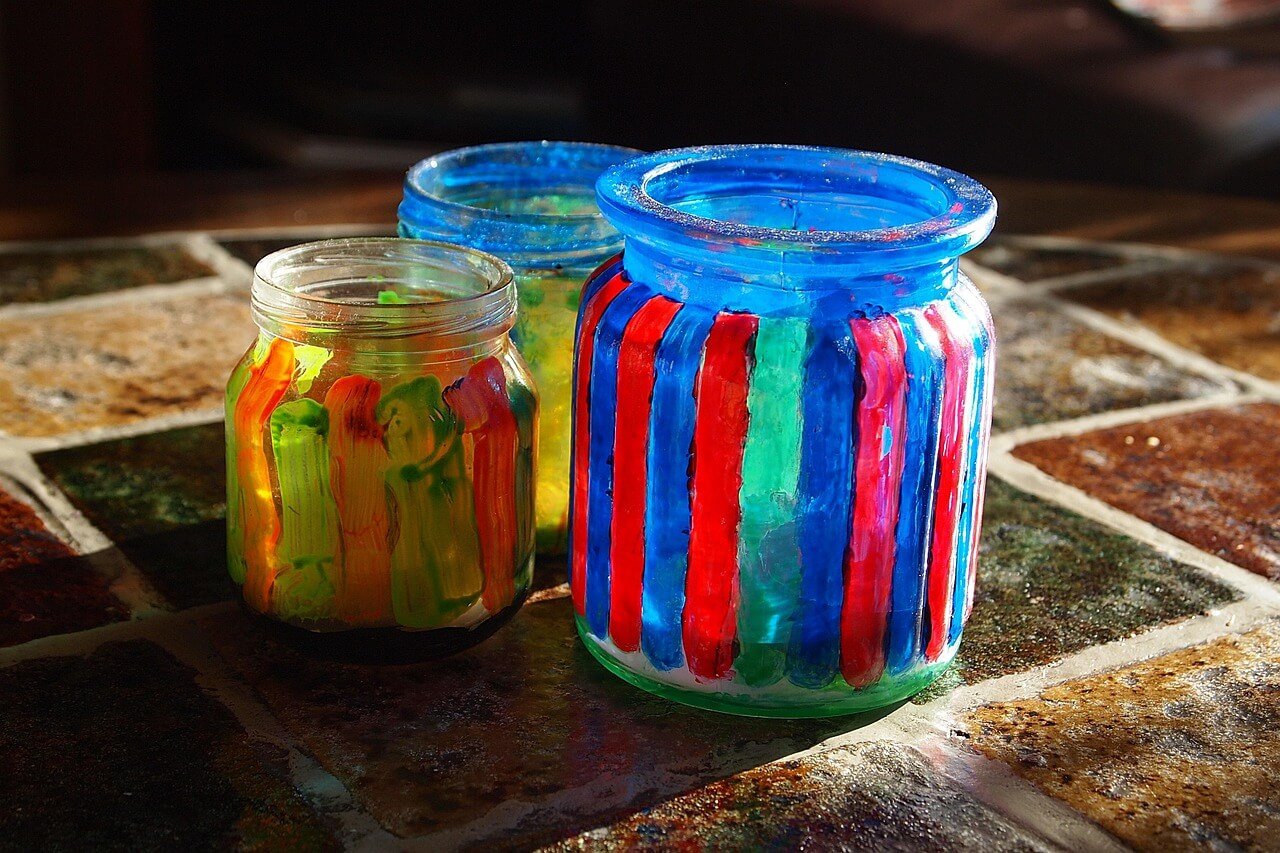
Use bakeable glass enamel when the jar will be washed often, multi-surface acrylic for pieces that stay on a shelf, chalk paint for a matte distressed look, spray for an even base coat across many jars, and glass stain when color should still let light through. Standard craft acrylic on bare glass is the option that reliably disappoints.
Paint choice is really a question about washing, so match the coating to how often the jar gets rinsed.
| Paint type | Adhesion | Finish | Wash resistance | Best for |
| Bakeable glass enamel | Very good after cure | Opaque, gloss | Often dishwasher safe | Vases, drinking jars |
| Multi-surface acrylic | Good on clean glass | Satin | Hand wash, better sealed | Decor jars, gifts |
| Chalk paint | Good, high build | Ultra matte | Must be sealed | Distressed looks |
| Multi-surface spray | Good in thin passes | Even | Hand wash with clear coat | Batch base coats |
| Glass stain | Good | See-through color | Varies by product | Tinted light |
| Standard craft acrylic | Weak on bare glass | Satin or matte | Poor without sealer | Over an existing base |
Painting the Outside vs the Inside
Exterior painting allows masking, sanding, and touch-ups, and it never contacts food. Interior painting gives a glossy color that glows from within: pour thinned paint into the jar, rotate to coat, invert to drain, then cure for 24 hours. Interior coating cannot be touched up and retires the jar from food storage. For consistent interior color across hundreds of units, glass painting services handle coating, curing, and color matching at production scale.
Thin Coats, Masking, and Curing
A thick first coat applied to fix streaks is the largest cause of a failed paint job. On glass the first pass always looks patchy, and more paint only produces sags.
- Mask with painter’s tape or stencils, then burnish every edge with a fingernail.
- Apply a thin coat with a foam pouncer, dabbing up and down to avoid brush lines.
- Add two more thin coats, drying 20 to 60 minutes between each.
- Pull masking while the last coat is soft, then cure per the label.
Creative Painted Mason Jar Ideas
- Ombre: paint graduating bands and blend the boundaries with a damp sponge.
- Color blocking: mask a diagonal and leave a clear window so contents show.
- Produce shapes: paint a solid fruit color, then add seeds with a fine paint pen.
- Metallic rim: finish only the rim and lid to frame a matte body.
- Interior wash: swirl a pastel mix inside a clear jar for color that shifts with light.
How Do You Etch or Frost a Mason Jar?
Etching cream permanently eats into the glass to leave a matte pattern that cannot peel or wash off, while frosted spray coats the outside with a removable film. Both look similar, but only etching survives scrubbing.
Clean and degrease as for painting, apply an adhesive stencil, burnish the edges, brush a thick layer of cream over the exposed area, leave it for the time on the label, then rinse and neutralize. Glass etching works because the cream attacks the silica network at the surface, so the result is a physical change rather than a layer on top. Wear gloves and eye protection, and never etch the inside of a jar that will hold food.
Add Texture with Fabric, Twine, and Lace
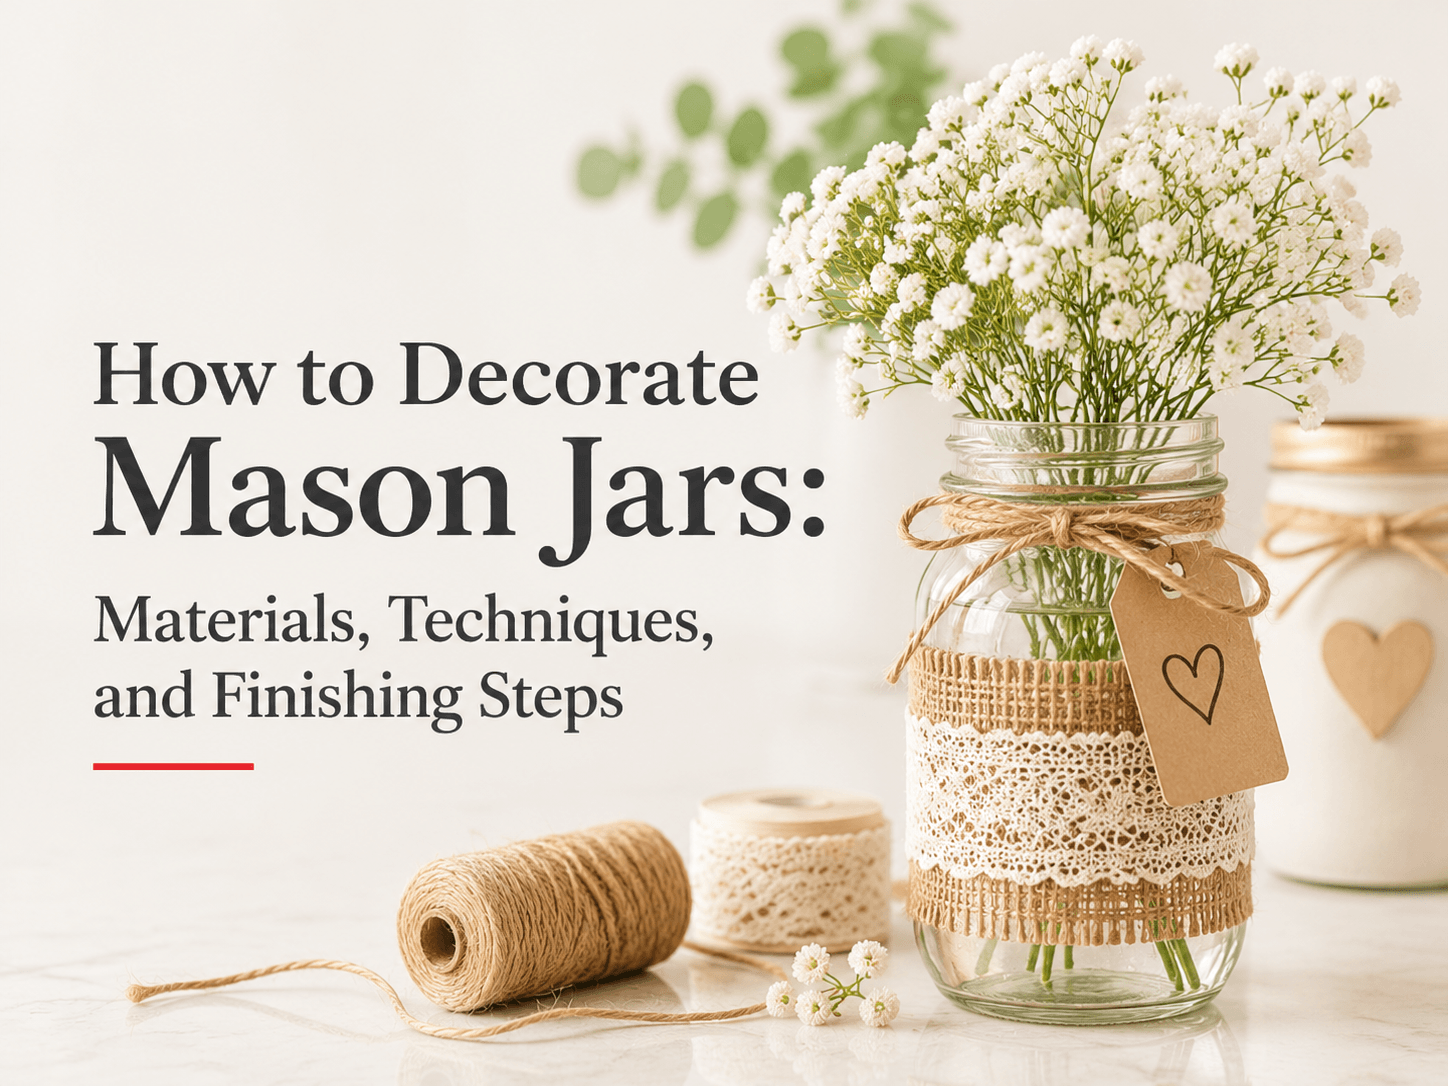
Wrap texture around the neck or body rather than the whole jar: fix the first end with hot glue at the back, coil or layer with a slight overlap, and tuck the final end under the last pass so no raw edge shows. Keep the neck clear below the threads so the lid seats.
Jute twine is the most forgiving option because its texture hides small gaps. Coil it tightly for a rope band or space the turns for a rustic look, and finish with glue on the underside rather than a visible knot. Burlap adds weight on larger jars, lace over paint lets color show through, and a macrame net turns the jar into a hanging vessel that must anchor below the shoulder.
Adhesives That Actually Hold on Glass
- Hot glue sets in seconds, grips glass, and softens when reheated, which suits removable trim.
- Clear craft glue is for paper only and will not hold twine under tension.
- High-strength construction adhesive is correct for knobs and bases, and needs 24 hours to cure.
- Cyanoacrylate cures brittle on glass and can fog the surface around the joint.
Decoupage, Paper, and Label Techniques
Decoupage bonds paper to glass with a medium applied under and over the paper in thin layers, and the result is only as good as the paper you start with: tissue and lightweight sheets conform to curved glass, while card stock wrinkles and lifts.
Brush medium onto the jar, press the paper from the center outward, smooth bubbles with a fingertip, then coat over the top. Build three or four thin topcoats, drying between each. Tearing rather than cutting gives softer edges that blend into the glass. The technique has a long craft history, and decoupage traditionally refers to exactly this build-up of paper and varnish.
Labels That Survive Washing
A label is a functional component, so choose it by cleaning method. Waterproof synthetic labels resist moisture and suit pantry and bath products. Chalkboard coating allows contents to be rewritten, and kraft tags tied with twine can be swapped between jars. Engraved lids suit permanent identification, while printed clear labels need a laminate or the edges curl on the first rinse.
How to Personalize Mason Jars for Gifts, Events, and Retail
Personalize by changing one variable against a consistent base: hold the jar, color, and wrap identical across a set, then vary only the name, date, monogram, or contents. This reads as a designed collection rather than a series of unrelated projects.
Names, Dates, and Monograms
Vinyl stencils with paint give crisp letters on curved glass, paint pens suit handwriting, etching produces a monogram that will not wear, and engraved tags hung from twine move to the next container. For handwriting, an oil-based marker holds far better than a water-based one.
Coordinated Sets for Weddings and Holidays
Limit the palette to two colors plus one neutral, repeat the wrap and label position on every jar, and number table markers so guests find seats without reading small print. For seasonal sets, change the fill rather than the jar.
Packaging for Small-Batch Products
When decorated jars become packaging, three details separate a hobby from a product: a label template so every unit aligns, a batch code with a fill line since these jars get refilled, and a tamper-evident seal over the lid.
Decorated Mason Jar Ideas by Room and Season
Choose the technique to match the environment: kitchens and bathrooms need sealed, washable exteriors, living areas can carry delicate paper work, and outdoor placements need coatings that resist moisture and sun.
| Setting | Idea | Technique | Difficulty |
| Kitchen counter | Utensil dispenser | Painted body plus drilled lid | Medium |
| Pantry shelf | Dry goods set | Chalkboard labels on clear jars | Easy |
| Bathroom | Bath salt storage | Sealed painted exterior | Easy |
| Living room | Flower vase | Interior wash or ombre | Easy |
| Patio | Hanging lantern | Etched pattern plus lights | Medium |
| Holiday table | Centerpiece cluster | Frosted spray plus seasonal fill | Easy |
How to Make Decorated Jars Last
Seal every painted or paper surface with a compatible clear topcoat, hand wash instead of dishwashing, keep jars out of direct sun, and avoid sudden temperature changes. These four habits extend a decorated jar from weeks to years without redoing the design.
Heat, Candles, and Food Contact Limits
Leave at least 2.5 cm between the wax surface and any decoration, never coat the inside of a candle jar, trim the wick to about 5 mm before each burn, and use water-based coatings only near an open flame. Paint, etching cream, adhesive, and decoupage medium are not food safe, so decoration stops below the rim. Where dry goods are the main use, are mason jars airtight explains which lid and gasket combinations hold a seal after decoration.
Common Mistakes and How to Avoid Them
Most failures come from habits rather than materials: skipping the degrease step, applying one heavy coat instead of three thin ones, pulling masking after full cure, painting the threads, and washing a hand-finished jar in a dishwasher.
- Handling the jar with bare hands after cleaning, which leaves oil patches that repel paint.
- Flooding the first coat, which produces sags and a film that never hardens.
- Painting over the threads or lid seat, which prevents sealing and chips on the first twist.
- Applying a solvent topcoat over water-based paint, which wrinkles the design.
- Assuming a decorative lid is airtight, then storing food in a jar that was never sealed.
Sourcing Jars and Scaling Decoration for Wholesale
At volume, decoration moves from brushwork to specified factory processes: spray coating, screen printing, water transfer printing, etching, and applied labels each carry different setup costs, durability, and minimum quantities. Buyers should specify the jar, method, color reference, and cure standard together, because changing one later usually invalidates the others.
What to Specify in a Purchase Order
A workable specification covers four items: the jar (capacity, mouth diameter, finish, lid type); the decoration method named rather than described, since spray coating and screen printing give different edge quality; a color reference plus placement tolerance in millimeters; and the cure standard, which decides whether the piece can be washed. Glass jars with lids wholesale programs usually quote decoration separately, so confirm whether sampling and color matching are included.
FAQ
Can you decorate a jar that still has raised lettering on the glass?
Yes, and the lettering is usually an asset. Paint as normal, then sand the raised areas lightly once dry so the molded text shows through as bare glass. For decoupage, let the lettering sit at the edge of the design rather than under the center, where trapped air causes bubbles.
How far does one container of paint or etching cream go?
Coverage depends on surface area, not jar volume. A 60 ml bottle of multi-surface acrylic coats three to five medium jars in two thin layers, while a small tube of etching cream covers one or two 500 ml jars at a thick application.
Is it cheaper to decorate jars in-house or buy them pre-decorated?
In-house work is cheaper below roughly 50 units, where setup costs dominate and labor is your own. Above a few hundred units, factory decoration usually wins, because spraying and printing are charged per unit with a one-time setup, and consistency across a run is hard to match by hand.