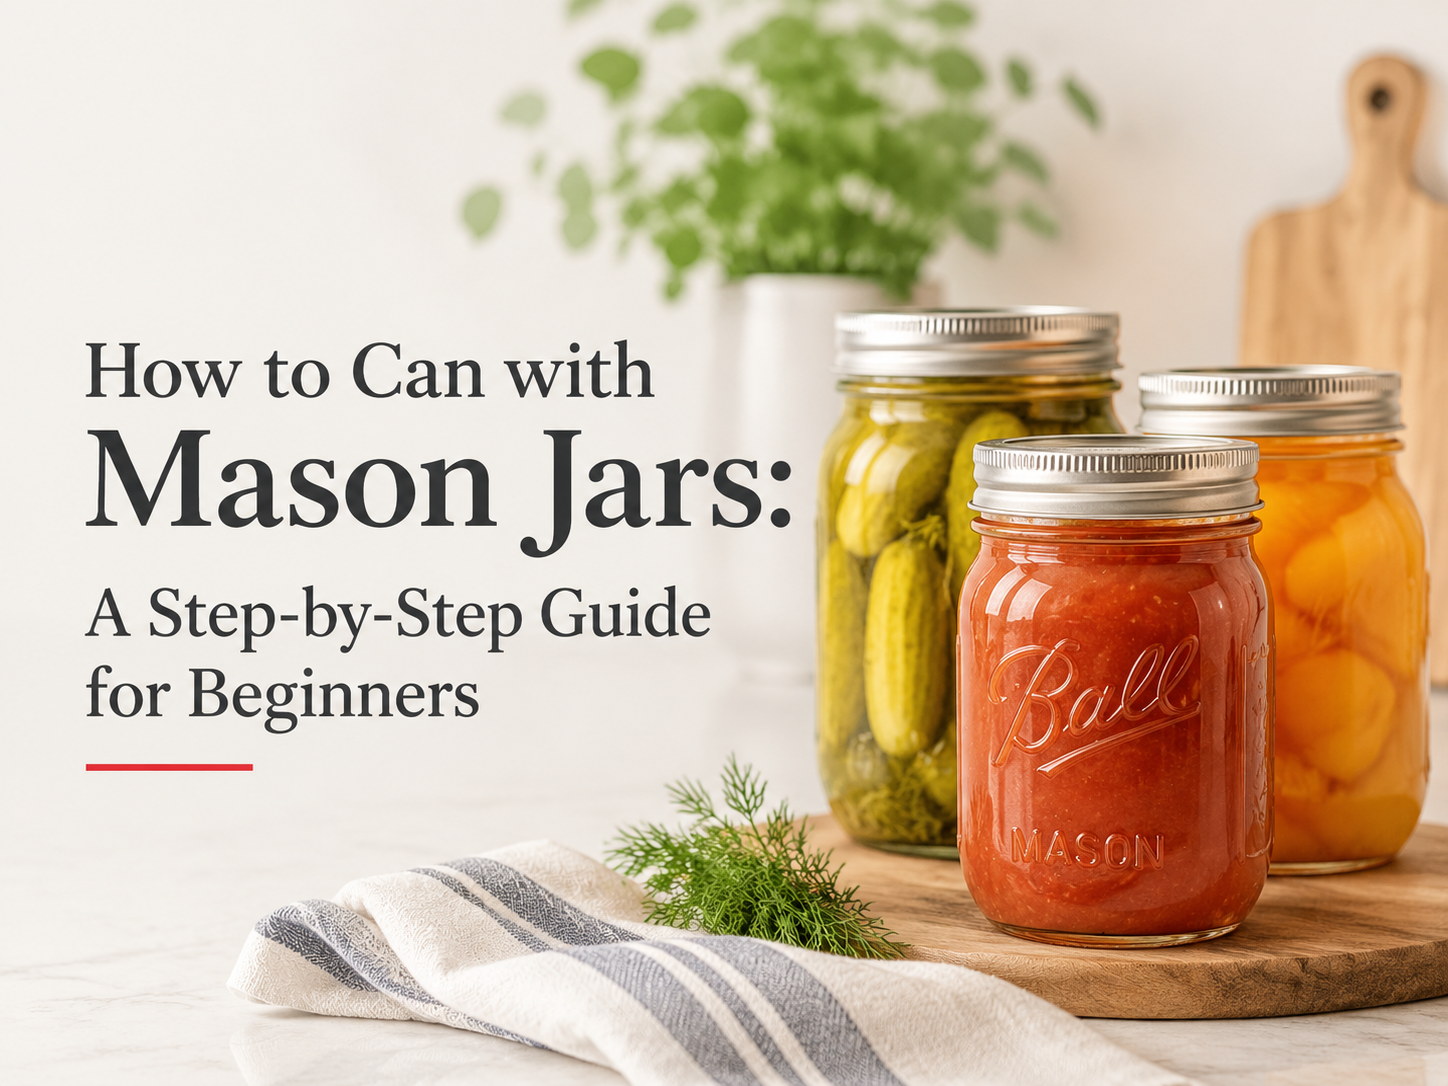
Home canning turns a glut of garden produce into shelf-stable pantry stock, and it remains the cheapest way to hold a season of fruit without a freezer. The skill is straightforward. The uncertainty is not. Most beginners stall on three questions: which foods are safe in boiling water, how much room to leave at the top, and whether a lid that popped down actually sealed.
You can with mason jars by packing prepared food into clean, hot jars, leaving the correct headspace, wiping the rim, and processing the sealed jars in boiling water for a tested time. Heat drives air out; as the jars cool, a vacuum forms and the flat lid pulls down onto the rim. Reliability comes from three habits rather than equipment: matching the method to the food’s acidity, measuring headspace instead of estimating it, and starting the timer only when the water returns to a rolling boil.
The order below follows that logic, beginning with the container, because the jar sets the limits on everything after it.
What You Need Before You Start
A deep pot with a rack, jars free of chips and cracks, new flat lids, screw rings, a jar lifter, a wide funnel, a bubble remover, clean towels, and a timer are enough. Only the pot has a hard requirement, and only the rack has no true substitute.
The pot must submerge filled jars by one to two inches, hold them without contact, and reach a rolling boil with the lid on. The rack keeps glass off direct heat and lets water circulate; without it, jars sit on the burner and crack.
| Tool | Purpose | Substitute |
| Stockpot with lid | Holds water and jars | Any pot covering jars by 1 to 2 inches |
| Rack | Keeps jars off the base | Cooling rack, or bands tied together |
| Jar lifter | Lifts jars without tilting | Long tongs, used vertically |
| Wide funnel | Fills without soiling the rim | None equally reliable |
| Bubble remover | Releases trapped air | Non-metallic spatula |
| Timer | Controls processing time | Phone timer set before loading |
Choosing the right jar for the job
Two-piece closures are what make a jar safe to can in: a flat lid whose sealing compound softens against the rim, held down by a band during processing. Jars that arrive filled with sauce or coffee have rims cut for commercial lids and will not hold a home vacuum.
Wide-mouth openings are easier to fill and inspect; regular-mouth jars stack better and suit pourables. Both seal equally well, so the choice is about handling. The threaded, tempered glass jar itself dates to the mid-nineteenth century patent that made reusable home preserving practical, as documented in the history of the mason jar. Buyers sourcing in volume usually standardize on wide mouth glass jars for chunky packs.
| Capacity | Typical use | Water bath suitable |
| 4 oz | Samples, pastes | Yes |
| 8 oz | Jams, relishes | Yes |
| 16 oz (pint) | Pickles, salsa, fruit | Yes |
| 32 oz (quart) | Whole fruit, tomatoes | Yes, longer processing |
| Half gallon | Display and dry storage | No |
Inspect every jar: run a finger around the rim for nicks and hold it to a light for hairline cracks at the shoulder. One chip guarantees a failed seal.
Water Bath or Pressure Canner: Pick the Method First
Acidity decides the method. Foods at pH 4.6 or lower are safe in boiling water, while vegetables, meats, soups, and legumes require a pressure canner reaching 240 degrees Fahrenheit to destroy botulinum spores.
Boiling water reaches 212 degrees Fahrenheit at sea level, enough to kill yeasts, molds, and most bacteria and to inactivate enzymes, but not enough to destroy Clostridium botulinum spores. Acid keeps those spores from producing toxin, which is why the pH line matters more than the ingredient list. The National Center for Home Food Preservation publishes the tested guidance behind that threshold.
Water bath canning for high-acid foods
Fruit, juices, jams, jellies, pickles, relishes, chutneys, acidified tomatoes, and most salsas qualify. Times still matter, because they must heat the coldest point of the jar, which depends on jar size and on whether the pack was raw or hot.
Pressure canning for low-acid foods
All fresh vegetables, meats, poultry, seafood, stocks, soups, and dried beans need a pressure canner. A pressure cooker or multi-function electric appliance is not one. If your interest is jam, pickles, and fruit, you can skip the equipment.
How the seal actually forms
The vacuum is a byproduct of heat, not of tightening. Expansion pushes air and steam past the lid during processing; cooling contracts the contents, and ambient pressure presses the lid onto the rim where the softened compound holds it. Bands need only be fingertip-tight, since overtightening blocks that escape of air.
Preparing Jars, Lids, and Rings
Clean is mandatory, sterile is conditional. Jars processed ten minutes or longer need hot soapy washing and preheating only. Jars processed for less than ten minutes, which covers most jams and jellies, should be boiled for ten minutes first.
Do you need to boil mason jars before canning?
Not always. The ten-minute rule exists because processing sterilizes the jar along with the food, and a short process leaves no time for that. Longer processes need only a clean interior, since residue gives spores somewhere to sit before heat penetrates.
Preheat regardless. Filling a room-temperature jar with boiling jam causes thermal shock, the leading cause of breakage in the pot. Stand jars in the canner as it heats and fill them one at a time. A comparison of the boiling, oven, and dishwasher approaches is worth reading first: sterilize mason jars is required only for short processes or jars that held raw food.
Lids are single-use, rings are not
The flat lid cannot be reused for canning, because its compound conforms to a single rim and a second use raises the failure rate. Bands are reusable until they rust or bend. Discard lids with scratches or an uneven bead.
Do not pre-boil modern lids. Current compounds soften at processing temperature, and preheating can reduce the vacuum achieved, so wash, dry, and leave them at room temperature. How far a lid can be stretched is covered here: reuse mason jar lids works for dry storage and refrigeration, not for shelf-stable canning.
The Canning Process, Step by Step
Simmer water in the canner, wash and inspect the jars, and keep them hot. Make the recipe as written. Fill one jar at a time to the stated headspace, release trapped air, wipe the rim, apply the lid and band, and lower the jar onto the rack. When all jars are covered by two inches of water, bring to a rolling boil, start the timer, and process for the full tested time. Rest five minutes off heat, then cool undisturbed on a towel for twelve to twenty-four hours.
- Heat canner water to a simmer.
- Wash and inspect jars, lids, and rings.
- Hold jars hot; keep lids and bands at room temperature.
- Prepare the recipe, keeping filled jars hot as you work.
- Fill one jar through a funnel to the specified headspace.
- Run a bubble remover around the inside wall two or three times.
- Wipe the rim and threads until no residue remains.
- Center the lid, apply the band, tighten to fingertip-tight.
- Lower onto the rack and repeat until jars are covered by two inches.
- Cover, return to a rolling boil, process, rest five minutes, then remove.
Headspace: how much room to leave
Headspace runs from the food surface to the underside of the lid, and it changes the outcome. Too little and expanding contents soil the sealing surface; too much and residual air weakens the vacuum and darkens the top layer.
| Product type | Headspace |
| Jams, jellies, fruit butters | 1/4 inch |
| Pickles, relishes, chutneys, salsas | 1/2 inch |
| Fruit in syrup, tomatoes | 1/2 inch |
| Juices | 1/4 inch |
| Low-acid foods (pressure canned) | 1 to 1 1/4 inches |
Measure it rather than judging by eye; the gap between a quarter inch and half an inch is small enough that most people guess wrong for several batches.
Processing times and altitude
Two variables change the time: the contents and the elevation. Water boils cooler as altitude rises, so the same jar needs longer to absorb equivalent heat. Add these to the recipe time rather than substituting for it.
| Elevation | Adjustment to boiling water time |
| 0 to 1,000 ft | None |
| 1,001 to 3,000 ft | Add 5 minutes |
| 3,001 to 6,000 ft | Add 10 minutes |
| 6,001 to 8,000 ft | Add 15 minutes |
| 8,001 to 10,000 ft | Add 20 minutes |
Start timing when the water returns to a rolling boil, not when jars go in, and restart the count if the boil drops. Never shorten a tested time to protect texture, because texture can be adjusted through the recipe while safety cannot be adjusted afterward.
Common mistakes at the filling stage
Three errors cause most failed batches, all in the two minutes before a jar enters the water. Air pockets left against the glass expand and force liquid out. An oily film on the rim leaves the compound nothing to bond to. A band cranked down hard traps the air the vacuum depends on.
Cooling, Seal Testing, and Storage
Leave jars on a towel, spaced apart and undisturbed, for twelve to twenty-four hours. Press each lid: it should be concave and should not move. Remove the bands, lift each jar by the lid’s edge to confirm the seal, then label and store in a cool, dark, dry place, where quality holds for twelve to eighteen months.
How to test a seal correctly
The press test and the lift test answer the same question from two directions. Press the center for flex, then remove the band and lift the jar an inch by the lid’s edge; a true seal carries the weight of a full jar. Wait the full day. Lids unsealed after twenty-four hours will not seal later, so refrigerate that food and eat it within days rather than retightening the band.
Shelf life and storage conditions
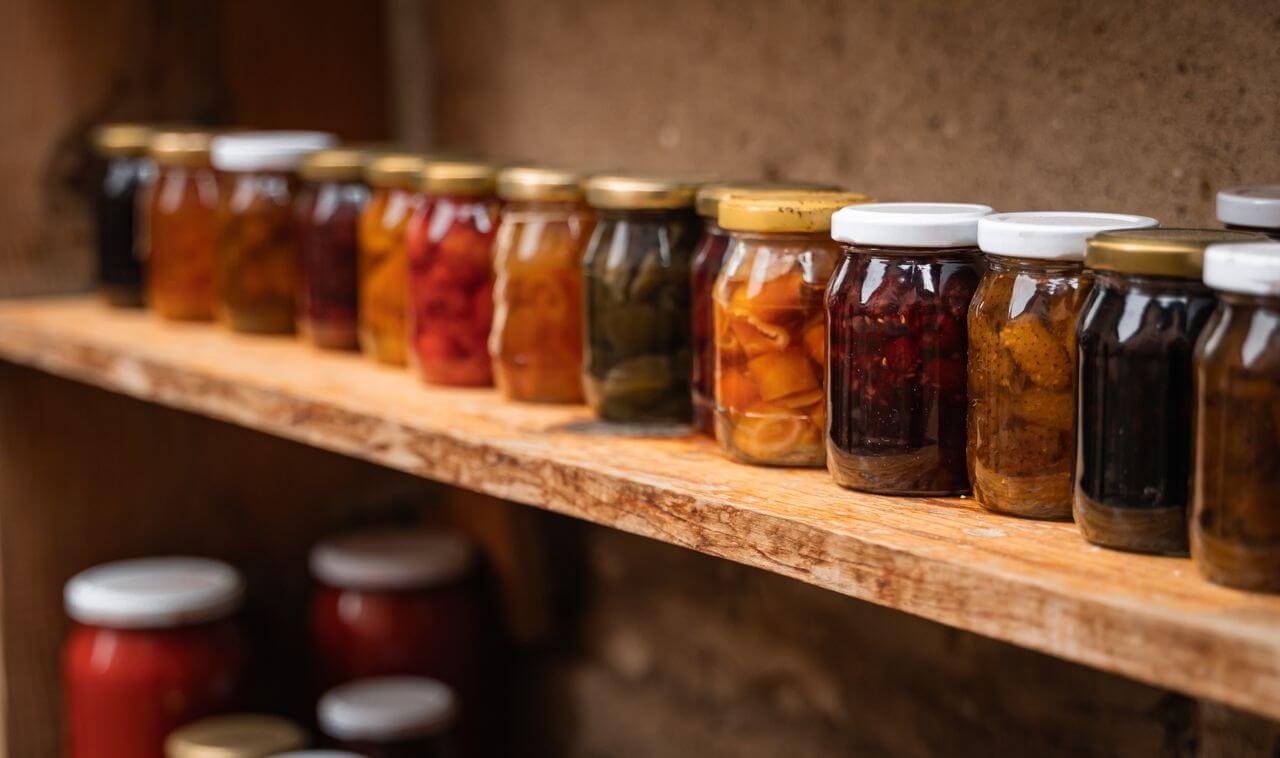
Heat, light, and temperature swings age canned food faster than time. A cupboard at 50 to 70 degrees Fahrenheit, out of direct light, holds quality for a year or more; a shelf above a stove shortens that considerably. Label contents and date, and rotate oldest first.
With the band off, the closure is one layer of coated metal against glass, a thinner barrier than most people assume. That is why airtight glass storage jars with well-formed rims matter over years, and why the National Center for Home Food Preservation warns against humid storage that corrodes lids from outside.
Storing water in mason jars
Water is the one thing worth jarring without processing. Sterilize the jar, fill it with potable water, leave half an inch of headspace, and close with a new lid. Nothing in water feeds microorganisms, so no boiling water process is needed, but the jar must be clean and the water safe at filling.
Rotation does the work. Home-filled jars are best turned over every six to twelve months, and commercially bottled water carries a two-year window for best quality, staying safe afterward but turning flat. Keep clear jars out of sunlight, and never store water in a jar that held anything oily.
Troubleshooting: When Jars Don’t Seal or Lose Liquid
Most failures trace to a dirty sealing surface, an abrupt temperature change, or a jar that was overfilled or underfilled. All three are correctable without new equipment.
The lid didn’t seal
Work in order of likelihood: residue on the rim, a band tightened past fingertip-tight, then insufficient heat in the jar at filling. Rarer causes are a preheated or damaged lid and a rim chip too small to see without a light.
Siphoning and liquid loss
Liquid lost during processing is siphoning, caused by a rapid pressure change when hot jars meet cooler air or water. The food stays safe if the seal holds and the loss is modest. Prevent it by releasing bubbles fully and resting jars five minutes off heat before lifting.
Floating fruit, cloudy brine, and faded tops
Floating fruit means a loose pack or light syrup, and cloudy pickle brine usually points to hard water or a salt reaction; both remain safe. A darkened top layer signals excess headspace. Discard instead on bulging lids, seepage, mold, hissing on opening, or any off odor, and never taste to check.
Your First Batch: What to Start With
Begin with a high-acid product that processes quickly and shows results clearly: a small batch of jam, water-bath pickles, or acidified tomatoes. Cap the first batch at six to twelve jars, so a mistake costs an afternoon rather than a season.
Forgiving recipes suit first attempts, because the early batches teach rhythm rather than precision. Jam is tolerant on headspace and obvious once sealed; pickles build the bubble-removal habit. Log recipe, date, jar size, time, elevation, and seal count. Three or four batches in, it shows which variable to change when something goes wrong.
FAQ
Can you can in reused grocery jars?
Not for shelf-stable storage. Jars that arrive filled with sauce or coffee usually have rims cut for a commercial lug lid, not a two-piece canning closure, and the glass may not be tempered for repeated boiling. They work well for dry goods and refrigerator pickles. A jar sold specifically as a canning jar can be reused indefinitely while its rim is undamaged.
Can you oven-can or dishwasher-can instead of using a water bath?
Neither is accepted by food safety authorities. An oven does not transfer heat through water, so the jar heats unevenly and internal temperature cannot be verified, and a dishwasher cycle does not hold the required temperature. Both are linked to failed seals and spoilage. The boiling water bath is the only approved method for high-acid foods at home.
How can you tell if home-canned food has gone bad?
Check the seal before opening, then look and smell. A lid that has lost its vacuum, a bulging lid, seepage or foaming, surface mold, or any spurting on opening all indicate spoilage, and the jar should be discarded untasted. A jar that smells normal but tastes off, or has a fizzy texture, should also go.