failBroken glass causes more laboratory injuries than almost any other single item, and most of those injuries trace back to the minutes before a procedure starts. A hairline crack at the base of a beaker, a chipped rim on a flask, a scored joint on a condenser each look acceptable on a shelf and fails once heat, vacuum, or a clamp is applied.
third, andBefore anything goes onto the bench, check every piece for cracks, chips, scratches, and worn joints, confirm that the glass type suits the operation and the chemistry, and set out the clamps, tubing, and stoppers that the setup requires. Inspection comes first, suitability second, hardware third, cleaning and staging last.
Everything below follows that order, and it applies as much to a single borrowed beaker as to the custom glassware sets a teaching lab orders in bulk.
bench.Inspect every piece of glassware before it goes on the bench
Every item is checked on the day it is used, not the day it arrives. A defect you can see now becomes a failure you cannot stop later. Glass fails two ways: it cracks under thermal stress, and it implodes under vacuum.
What to look for on a piece of glassware
Hold the piece up to a light source and rotate it slowly. You are looking for six things.
- Visible cracks, including fine hairline cracks that show only at certain angles
- Chipped or ground-away rims and necks
- Star cracks, which radiate from one impact point and spread fast under heat
- Deep scratches and score marks, usually from metal clamps or careless storage
- Cloudy, frosted, or etched inner surfaces, which signal chemical attack
- Worn, scored, or seized ground glass joints and stopcocks
Check the stress zones first: the base, the neck, and any point where wall thickness changes. Inspect twice, once out of storage and again after cleaning, because washing hides small chips and the sink is where new damage happens. The School Chemistry Laboratory Safety Guide published by NIOSH states the rule plainly: all equipment should be inspected for cracks and defects before use, and damaged equipment should be taken out of service.
| Defect | Usual cause | Risk during a run | Action |
|---|---|---|---|
| Hairline crack | Thermal shock, impact | Sudden failure under heat | Retire |
| Chipped rim or neck | Storage contact, clamps | Cuts, fragments in the sample | Retire |
| Star crack | Impact | Propagates under vacuum or heat | Retire |
| Deep scratch or score | Metal clamp contact | Becomes a crack initiation point | Retire |
| Cloudy or etched surface | Hydrofluoric acid, hot alkali | Contamination, weakened wall | Retire |
| Worn ground joint | Abrasion, dried grease | Vacuum leak, seized joint | Repair or replace |
What to do when a piece of glassware is chipped or cracked
A chipped or cracked piece comes off the bench immediately. There is no safe amount of use left in it. Tag it and move it away from the working setup before you do anything else.
- Cracks, chips, star cracks, and etched surfaces end the piece’s service life.
- relappedGround joints and stopcocks can sometimes be re-lapped or re-polished, which is work for a glass workshop rather than a bench repair.
- Tubing and rods with sharp cut ends are not defective, only unfinished. Fire-polish or file the ends first.
A container left in circulation as “still usable” is the most common way a small defect becomes an injury.
chemistry.Match the glass to the job and to the chemistry
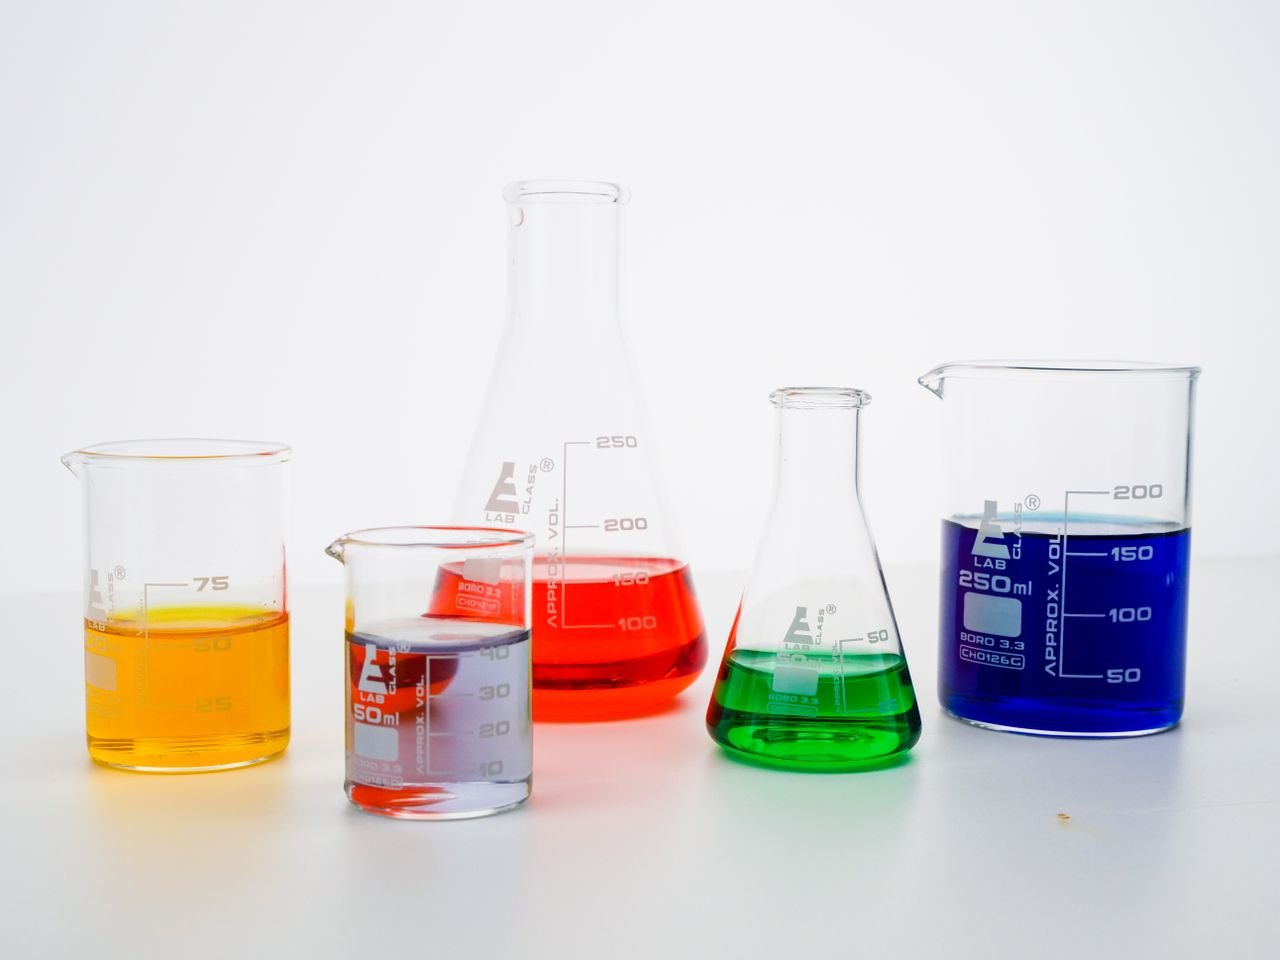
Careful handling does not compensate for the wrong material. A piece of glass is rated for a specific kind of work, and heat, vacuum, and pressure each change what is acceptable. Swapping a vessel out mid-procedure is far worse than choosing the right one while gathering.
General apparatus is classified under ASTM E438 as borosilicate or soda-lime. Borosilicate 3.3 has a low coefficient of expansion, which lets it tolerate rapid temperature change. Soda-lime costs less and resists alkaline attack better, but it is far less forgiving of thermal shock.
| Operation | Glass requirement | Protection needed | Never do this |
|---|---|---|---|
| Boiling or heating | Borosilicate, round-bottom preferred | Retort stand, heat-resistant mat | Heat a scored or chipped vessel |
| Vacuum filtration or distillation | Heavy-wall vessel rated for vacuum | Tape, mesh sleeve, or shield | Pull a vacuum on a flat-bottom vessel |
| Pressurised reactions | Purpose-rated vessel only | Secondary containment, shield | Pressurise general glassware to move liquid |
| Cryogenic work | Borosilicate, slow warm-up | Insulated gloves, face protection | Move a bottle from a deep freeze into a warm bath |
| Routine containment | Soda-lime or borosilicate | Standard handling only | Assume glass is inert to every chemical |
Never use a filter flask as a boiling vessel, and never set hot glass on a cold bench.
Chemicals that attack glass
Glass resists most laboratory chemicals, but the exceptions are serious. Hydrofluoric acid dissolves silica and will etch a container, and hot concentrated phosphoric acid and hot strong alkalis attack glass the same way. Unless the reaction requires one of them, those chemicals stay out of glass. Sodium hydroxide left standing for weeks is gentler but still leaches the surface and leaves a hazy film, the same signal you would catch during inspection.
Confirm the supporting equipment that goes with the glass
Glassware is only as safe as the hardware holding it. Most breakage during setup happens at the clamping and tubing stage, before a reaction runs.
stands,Clamps, stands and supports
point,Rubber-lined clamps prevent glass-to-metal contact, the main source of scratches and the cracks that follow them. Tighten until the vessel is secure and no further, because an over-tightened clamp cracks the glass at the contact point and the break shows up later, under heat. A neck clamp alone is not enough above roughly 500 ml, so add a platform or a second clamp lower down.
Tubing, stoppers, and adapters
Pushing a glass tube through a stopper is one of the most reliable ways to cut a hand. Fire-polish or file the end first, then lubricate the glass and the hole with water or glycerol rather than oil. Keep your hands close to the stopper, push with a twisting motion rather than the palm, and check that the free end is not aimed at your hand. When a joint or stopcock seizes, apply gentle heat and tap it with a wooden block rather than forcing it.
Setting up inside a fume hood
Working in a hood changes the gathering order. Bring the tools in first, then the glassware, then the chemicals, so the bench is not crowded with containers you are not using yet. Place vessels well inside the hood rather than near the front edge, and keep your head and body outside the hood face.
Clean, dry, and stage what you have gathered.
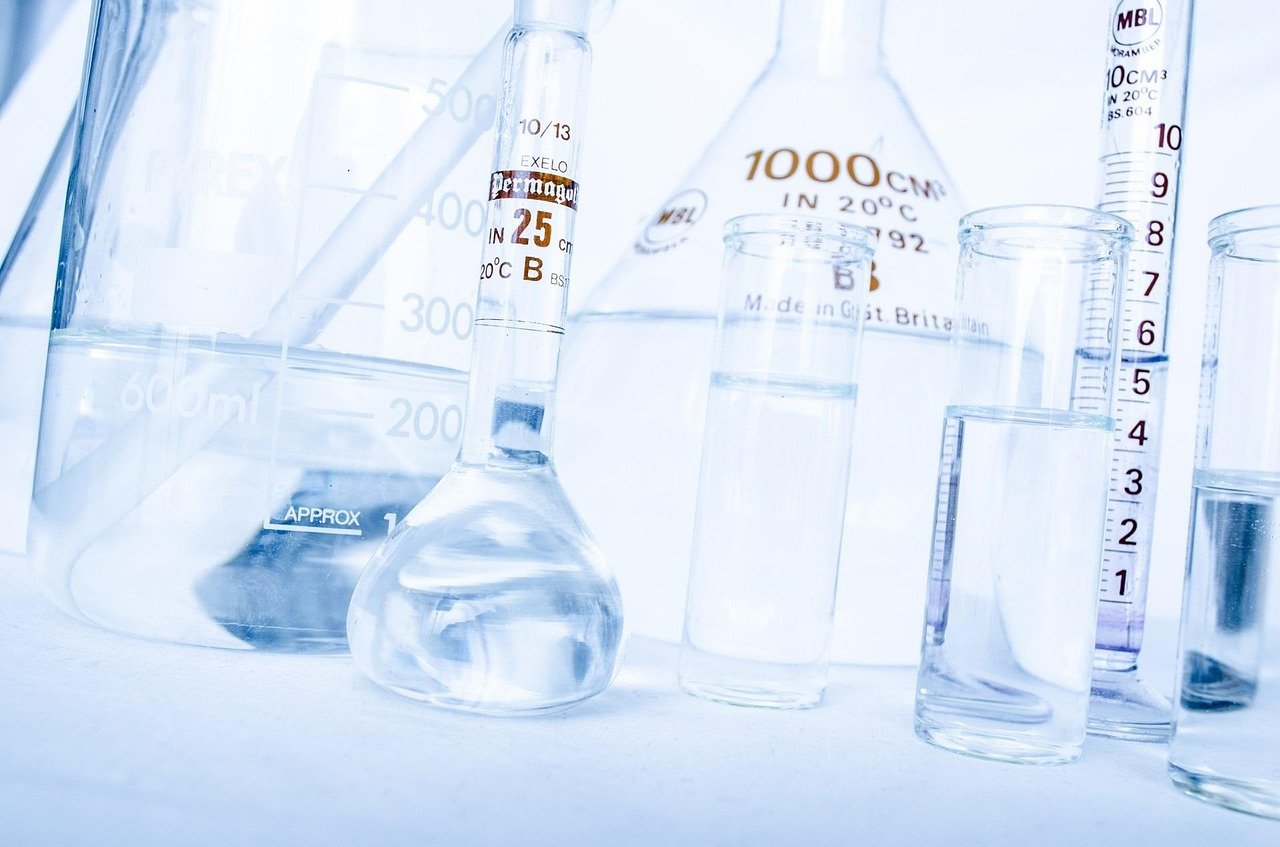
Residue on glass is a contamination source. A piece that looks clean is not necessarily clean, and a piece that is still wet is not ready for a gravimetric procedure. Standard practice is a neutral laboratory detergent, a rinse with tap water, and a final rinse with purified water.
| Glassware type | Clean | Dry | Avoid |
|---|---|---|---|
| General containers | Detergent, brush, purified water rinse | Drying rack, oven if heat-tolerant | Stacking wet pieces |
| Volumetric glassware | Detergent, purified water rinse | Air-dry only | Oven drying, which shifts calibration |
| Ground joints and stopcocks | Solvent wipe to strip old grease | Air dry, then re-grease lightly. | Leaving grease to dry in place |
Labelling rules that prevent mix-ups
Every container gets contents, concentration, hazard, and date, including temporary holding vessels. Ground joints need their own discipline: each stopper is lapped to its vessel, so store them as a pair, held together with a rubber band or with a slip of paper between the joint surfaces.
Recording the setup alongside the data
What should be done with data gathered during an experiment usually means the readings, but the equipment side of the record matters too. Log which vessels were used, their sizes, and their condition at the start, and note the point in the procedure if you swap out a cracked vessel mid-run. A notebook that records only numbers loses the context needed to repeat the work.
Store glassware so the next run still has it.
Most defects are created during storage rather than during experiments. Glassware that is stacked, crowded, or left on a wet shelf arrives at the next session already damaged. A glassware cabinet works on three principles: keep the load low and stable, keep like with like, and keep water out.
| Cabinet zone | What belongs there | Why |
|---|---|---|
| Lower shelves | Large beakers, flasks, heavy items | Keeps the cabinet’s center of gravity low |
| Middle shelves | Everyday beakers, flasks, cylinders | Easy reach without lifting overhead |
| Upper shelves | Small tubes, light accessories | Minimal load, minimal risk |
| Drawers | Thermometers, stoppers, small fittings | Prevents rolling and impact |
Group by type and purpose within each shelf. Volumetric glassware stays apart from general containers because dust and residue on an inner wall affect readings. Anything that fails inspection goes to the broken glass container, not back into the cabinet, and the cabinet itself belongs away from sinks, acid and alkali vapour, and direct sunlight.
Racks and glassware storage containers
Test tubes, cylinders, and pipettes take less space and less damage when they stand rather than lie down, and vertical racks stop pieces rolling into each other. For moving glassware between rooms, use rigid, lidded glassware storage containers rather than carrying pieces by hand, and carry large or awkward pieces with both hands, one supporting the base.
What to do when glassware breaks during an experiment
A break during a run is different from a break at the bench because the setup may be hot, under vacuum, or holding something hazardous. Stop the operation before you deal with the glass.
The first thirty seconds
Cut the heat, switch off the stirrer, release the vacuum, and close the fume hood sash if the break happened inside it. Do not reach into a setup that is still under stress. Deal with injuries before the glass: rinse a cut under running water, apply pressure, and get first aid, since slivers embedded in a wound are not a self-removal task. If the vessel held a hazardous material, ventilate and follow your institution’s spill procedure before any cleanup.
Cleanup and disposal
Never pick up broken glass with bare hands or gloves alone, because a glove does not stop a sharp edge. Use a brush and dustpan for small fragments and tongs for larger pieces, and sweep the whole area rather than the visible pieces, since fine slivers travel. In a sink, drain the water first, then use tongs for large pieces and a damp paper towel held with tongs for slivers.
Broken glass goes into a rigid, labelled container kept solely for that purpose and sealed before it leaves the room. It never goes into a general waste bin, and glass contaminated with chemicals or biological material is decontaminated or handled as hazardous waste first. Record the break afterwards: which vessel, what it was doing, and how the procedure continued.
Sourcing glassware that survives routine lab work
Specifying what you buy is the cheapest form of inspection, because it removes the marginal pieces before they reach a bench. Three decisions shape how many defects a lab ends up managing.
The first is the specification. Ask for the glass grade in writing, with the standard and the test method behind it. A document that says only “borosilicate” names the material family and says little about how the container behaves in service, so ask for the ASTM E438 type and, for pharmaceutical or sensitive material, the relevant pharmacopoeial glass type with the method used to establish it.
The second is the buying format. Buying glassware sets rather than individual pieces cuts down the number of unmatched stoppers and joints in circulation, and a matched set stored as a unit survives longer than the same pieces bought separately. For short campaigns or a single training semester, a glassware rental arrangement covers capacity without adding items to permanent stock, and glassware rentals usually arrive already inspected and are checked back in when the work finishes. Where permanent stock is the goal, a glassware supplier that publishes its material grades and replaces individual pieces keeps a set intact over the years.
Specialist glassware studios can relap ground joints, polish rims, and fabricate non-standard adapters for less than the cost of a whole assembly, though only when the defect is confined to a joint rather than the vessel body.
FAQ
Can chipped or cracked laboratory glassware be repaired?
Only when the damage is limited to a ground joint, stopcock, or rim that can be relapped or polished. Cracks, chips, and star fractures in the vessel body are not repairable, and neither is an etched inner surface. A repaired joint still needs inspection before every use.
How often should laboratory glassware be inspected?
Before every use, and again after cleaning. A monthly or quarterly stock check catches pieces that were quietly retired to the back of the cabinet. Any piece with an unknown history should be treated as uninspected.
Is borosilicate glassware required for every experiment?
No. Borosilicate is the default wherever heating, cooling, or vacuum work is involved because of its low expansion coefficient. For routine containment at ambient temperature and neutral pH, soda-lime glass performs adequately and costs less.