Home preserving fails at the jar more often than at the recipe. A jar that looks clean can still carry mould spores in the thread of the neck. Glass is the right container because it is inert, holds no odours, and shows spoilage early.
To sterilize a glass jar, wash it in hot soapy water, rinse, then heat every interior surface: boil it fully submerged for 10 minutes, or heat it dry in an oven at 110 to 140 degrees Celsius for 15 to 20 minutes. Steam, a sanitising dishwasher cycle, and food safe chemical solutions also work when used correctly. Fill the jar while it is still hot and seal it immediately.
Temperature, contact time, and the minutes before filling decide whether the work holds.
How Do You Sterilize a Glass Jar Step by Step?
The reliable sequence is clean, heat, dry while staying hot, then fill and seal without a pause. Each step removes a different class of contamination, and skipping one puts back what the previous step removed.
Sterilising is a point in time, so a jar sterilised ten minutes before filling beats one done in the morning.
Step 1: Clean the Jar Before You Sterilize It
Heat does not penetrate dried residue or oil film, and anything left on the glass feeds whatever survives.
- Wash in hot water with detergent, brushing the base corner and shoulder.
- Half fill, cap, and shake so detergent reaches where a brush cannot.
- Scrub the thread, where old lid residue collects and the seal sits.
- Rinse under running water, not in a bowl of standing water.
- Check the rim for chips and the body for hairline cracks.
A chipped rim will not hold a vacuum however carefully it is sterilised.
Step 2: Pick a Method That Matches Your Batch Size
Timings exclude the time needed to bring water or an oven up to temperature.
| Method | Heat | Holding time | Best for |
| Boiling water | Moist, 100C | 10 minutes at a rolling boil | 6 to 12 jars |
| Oven | Dry, 110 to 140C | 15 to 20 minutes | Large batches |
| Microwave | Steam from water inside | 2 to 3 minutes | 1 or 2 jars |
| Dishwasher | Hot water and steam | Full programme | Mixed loads |
| Steam basket | Moist, 100C | 10 minutes | Bottles, narrow necks |
A ten minute boil starts at a rolling boil, not when the pot goes on the heat.
Step 3: Dry and Keep the Jar Hot Until Filling
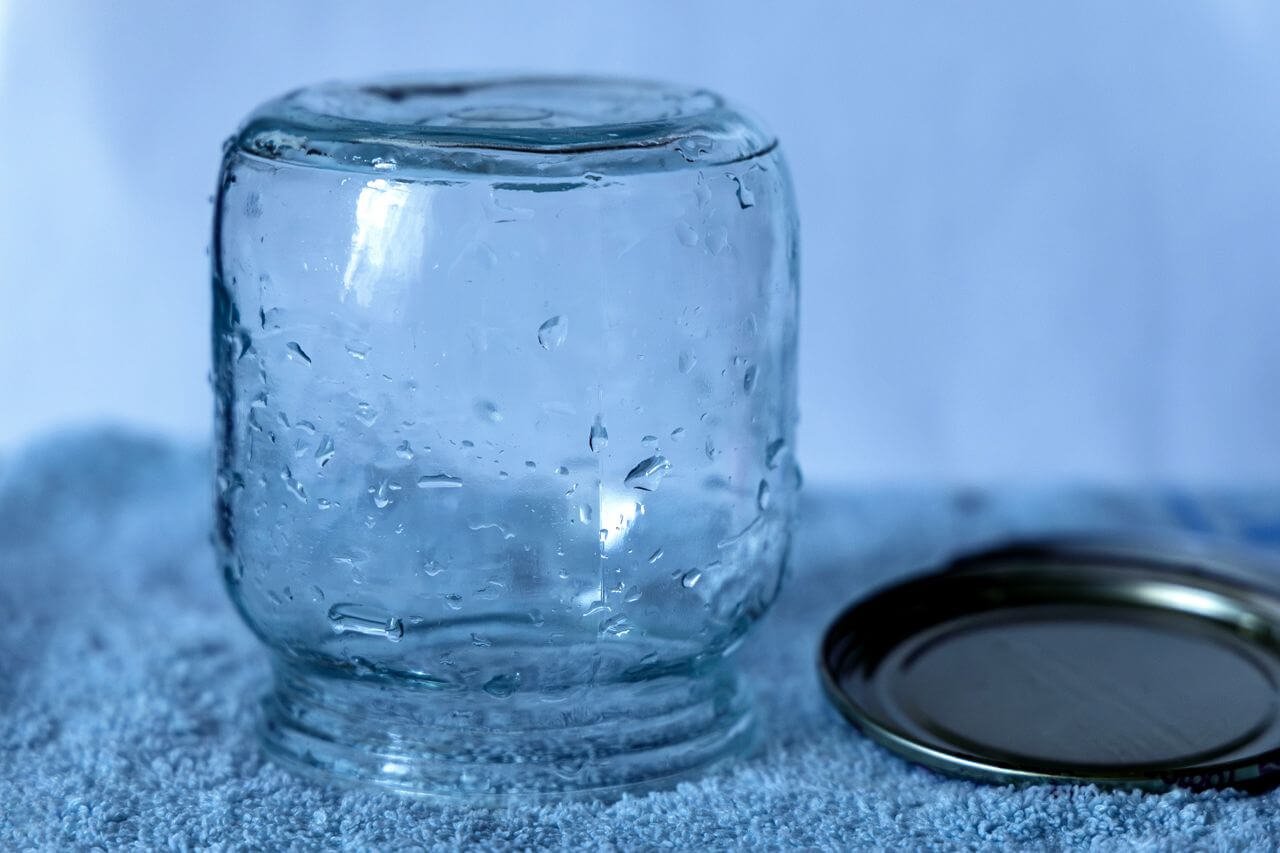
Stand jars upside down on a clean rack or fresh towel, and do not wipe the inside, because cloth fibres carry dust. A switched off oven at 90 to 100 degrees Celsius keeps them hot if you fill within the hour.
Step 4: Fill, Seal, and Verify
Hot preserve into a hot jar is the rule. A cold jar meeting hot jam is the most common cause of glass cracking on the bench.
- Fill to the headspace the recipe specifies, usually 6 to 10 millimetres for jam, then wipe the rim and dry it.
- Turn the band fingertip tight, not forced, then process as directed.
- Press the cooled lid centre. A concave lid means a vacuum, and a click means it has not sealed.
How Long a Sterilized Jar Stays Sterile
Airborne spores settle within minutes on the warm headspace of a freshly boiled jar, so fill within 30 minutes. Jars held in a closed, switched off oven last a few hours.
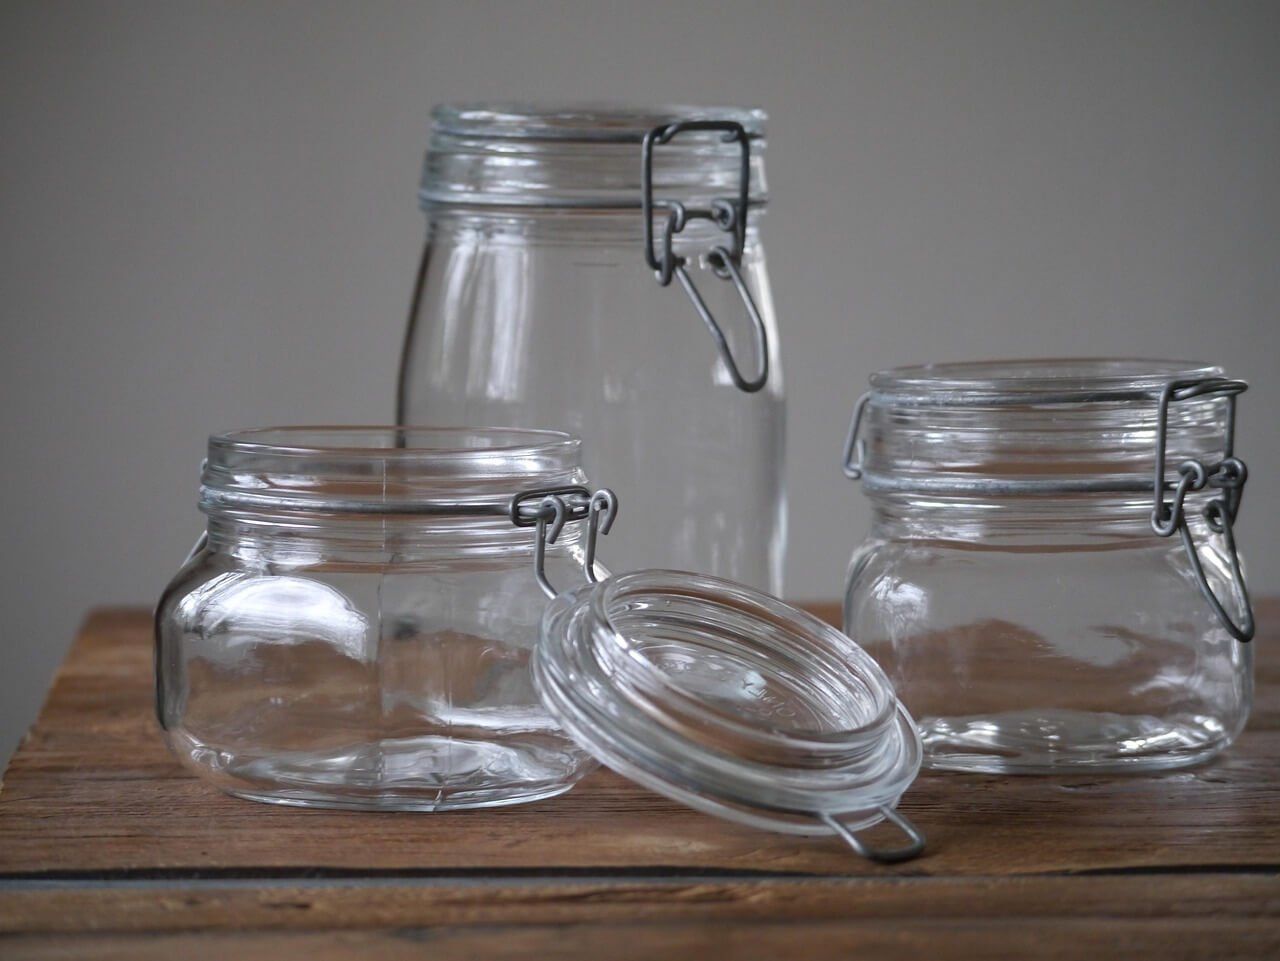
Do You Always Need to Sterilize Jars? The 10-Minute Rule
No. If the filled jars will be processed in a boiling water bath for 10 minutes or longer, or in a pressure canner, pre-sterilising the empty jar is unnecessary, because processing sterilises jar and contents together. Pre-sterilise for jams, jellies, and pickles processed for less than 10 minutes.
This is the position of the National Center for Home Food Preservation in its guidance on sterilisation of empty jars. A boiling water bath delivers the same heat to the inside of the jar whether or not it was empty beforehand.
| Situation | Pre-sterilise the empty jar? |
| Jam processed 5 minutes in a water bath | Yes |
| Fruit in syrup, water bath 15 minutes | No, wash and keep hot |
| Pickles, water bath 10 minutes or longer | No, wash and keep hot |
| Vegetables or meats, pressure canned | No, wash and keep hot |
Above 1,000 feet, add one minute of boiling per additional 1,000 feet, so 10 minutes becomes 12 at 3,000. For room temperature storage without a validated process, follow a tested recipe, and how to sterilize mason jars for canning pairs jar preparation with a full water bath.
Is Boiling Water Enough to Sterilize Jars?
Yes. A rolling boil at 100 degrees Celsius for 10 minutes, with jars fully submerged and water 2.5 centimetres above the rims, is the reference standard for sterilising empty glass jars. It destroys mould, yeast, and vegetative bacteria on every surface it touches, but not bacterial spores, which is why the food inside still needs its own heat process.
The method is simple, but the details are not optional.
- Line the pot with a rack or cloth so jars never touch bare metal.
- Stand jars upright and fill them with water so they do not float.
- Start the timer at a full rolling boil and hold for 10 minutes.
- Keep the water above the rims, topping up with hot water only, and leave space between jars.
The real risk is thermal shock, so start jars in warm water and land hot ones on wood or a towel rather than stone.
A sterile jar does not make food shelf stable. Low acid vegetables and meats need pressure canning at 240 degrees Fahrenheit, as CDC guidance on home canned foods explains, because boiling cannot destroy the spores that produce botulism toxin.
What Is the Fastest Way to Sterilize Jars?
For one or two jars, the microwave is fastest at roughly three minutes from start to finish. For a full batch, a boiling water bath at about 15 minutes including heat up is the fastest route that still gives a verifiable standard. A sanitising dishwasher cycle is the least effortful option but the least certain.
Speed and certainty pull in opposite directions. Refrigerator jam eaten within a month tolerates a three minute cycle, while jars stored for a year need a method whose time and temperature you can state without qualification.
Does Microwaving a Glass Jar Sterilize It?
Partly. Microwaving a jar containing a little water generates steam, which reaches sterilising temperatures on the surfaces it touches, and that is enough to reduce microbial load for immediate use. It is not a reliable sterilisation method for canning, because heating is uneven, the thread and headspace may never reach temperature, and the glass sees sharp localised thermal stress.
A microwave heats water, not glass, so dry surfaces depend on steam that may never condense where it is needed.
How to Do It as Safely as Possible
- Fill the jar two thirds with water. Never run a dry jar.
- Remove metal lids, bands, and foil.
- Heat at full power until the water visibly boils, usually about two minutes, then hold 30 to 60 seconds.
- Let the jar stand a minute, pour the water out with tongs, invert to drain, and fill immediately.
When to Skip the Microwave Entirely
Skip it if the jar has no microwave safe marking, a thick base, metallic decoration, or any chip or crack, and skip it when you need more than two jars. Material limits are covered in can you microwave a glass jar.
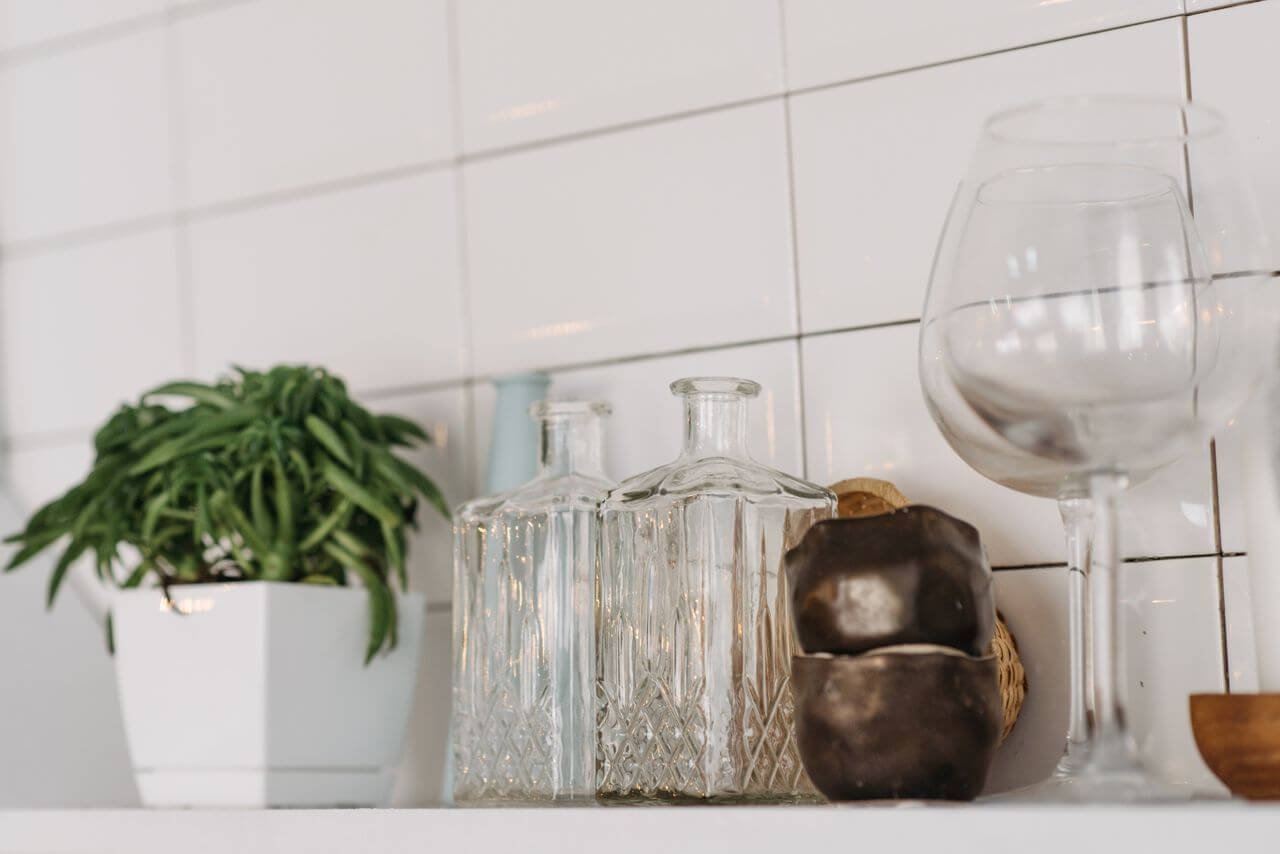
How to Sterilize Jars Without Boiling
You can sterilise jars with dry oven heat, a dishwasher sanitising cycle, steam from a lidded pot, or a food safe chemical solution. None is a straight substitute for boiling, because each has a different mechanism and a different failure mode.
Oven (Dry Heat)
Dry heat kills by conduction and hot air contact, so it is slower than moist heat at the same nominal temperature. Use 110 to 140 degrees Celsius for 15 to 20 minutes, jars upright and not touching, loaded into a cold oven so they heat gradually. Keep every lid and gasket out.
Dishwasher
A dishwasher removes residue well and reduces microbes, which suits jars needed quickly and filled while warm. Whether it sterilises depends on the machine: a sanitising cycle with heated dry comes close to the standard, an eco cycle at 50 degrees does not. Load mouth down and handle by the outside only. Heat tolerance is covered in are mason jars dishwasher safe.
Steam and Chemical Sterilising
Steam sterilising holds jars in a basket above a shallow layer of boiling water under a lid. Ten minutes of steam gives moist heat without immersion, which suits bottles and narrow necks. Chemical sterilising uses a food safe chlorine solution, submerging items for about 30 minutes with no trapped bubbles. The NHS applies the same principle to feeding equipment in its guidance on sterilising baby bottles, changing solution every 24 hours and draining rather than rinsing where water is not reliably potable.
What About Lids, Seals, and Screw Bands?
Lids and seals need separate treatment because dry heat and prolonged boiling damage the materials they are made from. Wash metal lids in hot soapy water and keep them warm, boil rubber gaskets for two to three minutes, and never put a gasket in the oven.
The sealing compound on a flat lid softens and compresses once, so a ten minute boil can weaken the vacuum. Warm soapy water and a warm hold are enough. Screw bands are reusable while free of rust, flat lids are single use for canning, and cork or wood closures belong on dry goods only.
Mistakes That Undo Sterilisation or Break the Jar
Almost every failure comes down to a temperature shock, a contaminated contact surface, or a jar already damaged before it went into the pot. Fix those three and spoilage rates drop sharply.
- Placing a cold jar into boiling water, or a hot jar onto a cold worktop.
- Drying the inside with a tea towel that has been sitting out.
- Touching the rim after sterilising.
- Sterilising in the morning and filling in the afternoon.
- Reusing a flat lid that has already sealed.
- Filling above the specified headspace.
- Crowding the pot so water cannot circulate.
Glass behaviour explains the breakages. Annealed soda lime glass, which most food jars are made from, tolerates a sudden change of only 40 to 50 degrees Celsius. Tempered soda lime, used for some jars and most ovenware, handles roughly 120. Borosilicate, rare in packaging because of cost, handles around 170. That is why a jar survives years of boiling and then cracks the one time it lands on a cold granite surface.
How to Choose Glass Jars That Survive Sterilisation
Choose a jar built for thermal processing: straight or gently tapered walls, a thick rounded rim, uniform wall thickness, and glass that has been properly annealed so residual stress has been released. The two most common failures are decorative jars with thick bases and repurposed sauce jars with thin walls and non standard rims.
Rim geometry decides whether the closure works. A sealing surface must be flat, continuous, and free of mould seam defects, because the gasket can only compress against what it touches.
The same principles scale up. Hot fill lines at 85 degrees Celsius and above, pasteurisation tunnels, and retort processes impose a thermal cycle, and the property governing survival is annealing quality and thermal shock resistance. Ask for test data alongside dimensional drawings, and confirm rim tolerances against the closure in use. Sourcing wholesale glass jars with a defined end use beats specifying a generic container, and matching glass jars with lids as one system avoids a lid that fits the thread but does not seal.
FAQ
Can you sterilize jars in an air fryer?
An air fryer is a small convection oven, so it applies dry heat and can sterilise glass in principle. In practice the cramped basket, strong fan, and proximity of the heating element make temperature uneven and raise the risk of thermal stress. Keep it at 120 degrees Celsius or below, stand jars on a rack, and never load a cold jar.
Do new jars need sterilizing before first use?
Yes, though not for the reasons most people assume. New jars arrive with dust from storage and transit, cardboard fibres, and sometimes residues from forming or packaging. One hot soapy wash and a rinse is enough for dry goods, but anything stored at room temperature deserves the full treatment.
Can sterilized jars be stored and used later?
Only within limits. A capped jar in a closed, switched off oven holds for a few hours, while a jar left open picks up airborne spores within minutes of cooling. Sterilise, dry completely, cap while hot, and use them the same day.