Glass jars have become one of the most decorated objects in packaging. Candle makers tint them, food producers stencil them, gift packers dip them in chalky pastels, and crafters turn a storage jar into a lantern in an afternoon. Glass is the cheapest route to a premium-looking vessel, and paint the cheapest way to make it look custom. The failure mode is predictable: the finish lifts at the rim or scratches at the shoulder within weeks, and the culprit is rarely the brushwork.
Painting glass jars is a four-stage process: choose a paint formulated for glass, strip the surface of oil and adhesive, build colour in thin coats, and finish with a genuine cure, either a 30-minute bake at 175 °C (350 °F) from a cold oven or a glass-rated sealer plus three weeks of air curing. Enamel holds permanently; ordinary craft acrylic holds only as long as the topcoat above it.
What separates a decorated jar from a durable one is everything most tutorials skip.
What Kind of Paint Do You Use on Glass Jars?
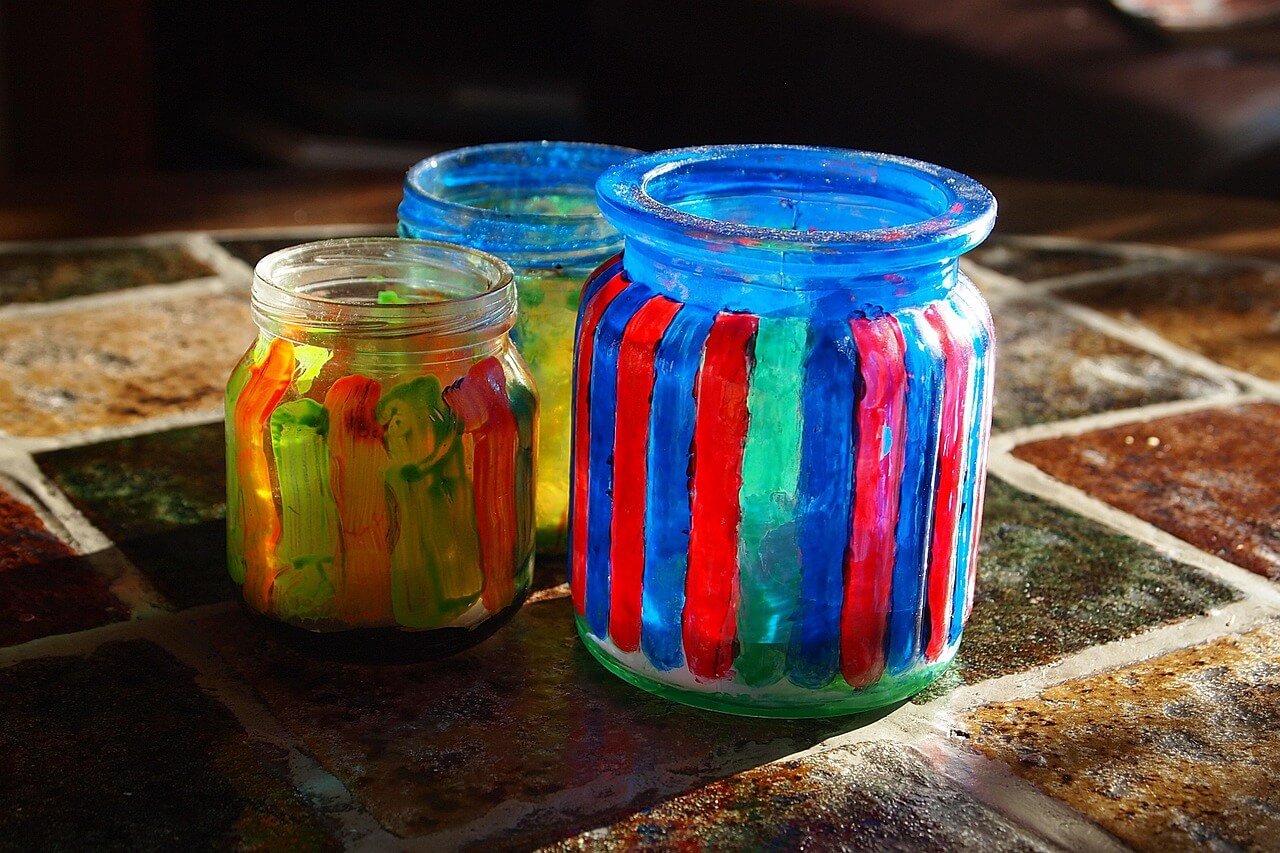
Glass enamel, acrylic enamel, and multi-surface acrylic are the three families formulated to bond to glass. Craft acrylic works on decorative pieces when primed and sealed, while chalk and spray paint suit matte finishes and large areas rather than jars that get washed.
Nearly every jar used for this work, whether a two-piece lid Mason jar or a clamp-lid storage jar, is blown from soda-lime glass with a smooth, non-porous skin. With no grain to key into, chemistry matters more than brush skill. Whether you paint three jars or specify thousands of wholesale glass jars, the mechanism is identical.
Heat-set enamel and glass paints
The only finishes that behave like glass itself. Pigment sits in a medium that cross-links hard when heated, producing a film that resists water, detergent, and handling. Cure runs at 160 °C to 175 °C for 30 to 40 minutes, after which the surface is usually top-rack dishwasher safe.
Acrylic enamel and multi-surface acrylics
One step below heat-set enamel: easy cleanup, the widest colour range, and clean application by brush, sponge, or marker. Air-dried it is decorative, oven-cured it approaches enamel performance, and mistakes wash off before curing.
Chalk, spray, and tinted-glue finishes
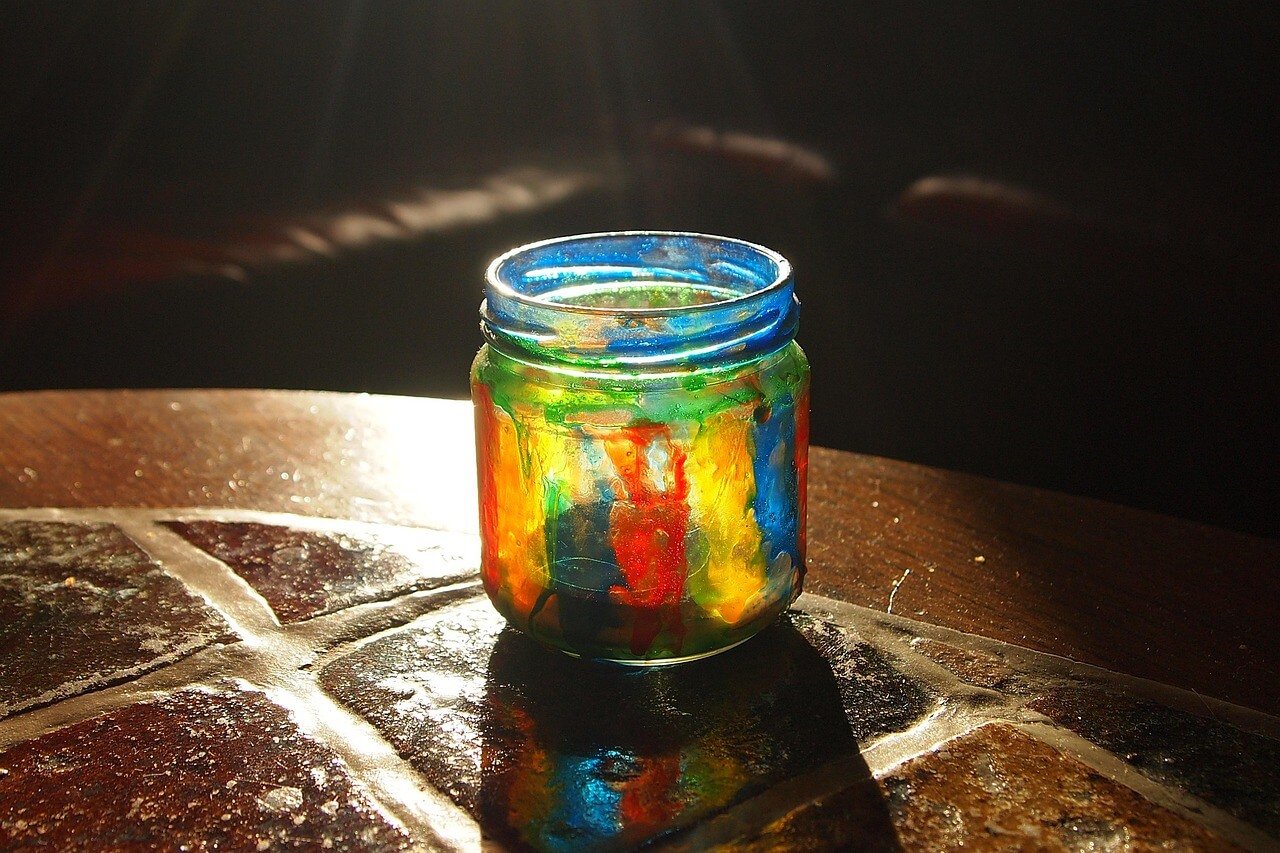
Chalk paint gives a matte, vintage surface and needs a topcoat to survive handling. Spray paint delivers the most even coverage across large batches and the fastest frosted or metallic effect. Tinting the inside with a coloured adhesive mixture gives a translucent wash that hides brush marks, but it is decorative rather than washable.
Paint comparison at a glance
| Paint family | Bonds to bare glass | Cure method | Wash resistance | Best use |
| Heat-set glass enamel | Strong, fuses into surface | Oven, 160 to 175 °C, 30 to 40 min | Top-rack dishwasher safe | Candle jars, tinted vessels |
| Water-based acrylic enamel | Good after degreasing | Air dry, or oven cure | Hand wash; dishwasher if baked | Stencilled designs |
| Multi-surface acrylic | Moderate, needs primer | Air dry 21 days, or bake | Hand wash only | Small accents |
| Chalk paint | Weak without primer | Air dry plus topcoat | Not washable | Matte, rustic finishes |
| Spray paint | Moderate, needs adhesion promoter | Air dry 24 to 48 hours | Hand wash after full cure | Large runs, frosted effects |
Will Acrylic Paint Stay on a Glass Jar?
Yes, acrylic paint will stay on a glass jar when the surface is degreased, the coats are thin, and the film is heat-cured or sealed with a glass-rated topcoat. Applied straight from the bottle onto a jar that was only rinsed, it stays until the first real wash.
Adhesion is a surface-energy problem before it is a chemical one. Glass gives a wet film almost nothing to grip, and the factory surface often carries a thin residue of release agent. Add fingerprints, soap film, or label adhesive and the paint bonds to the contamination rather than to the glass. Failures therefore appear as sheets lifting cleanly away, sometimes a week after the jar looked perfect.
What makes acrylic hold
Four levers improve the bond: degrease with isopropyl alcohol and handle the jar by its base; key the surface with 400-grit paper; apply a thin glass primer where grip matters most; and build colour in three thin coats rather than one thick one. A topcoat cannot rescue a contaminated surface, but it does turn a fragile film into a handleable one. This guide to acrylic paint on glassware covers the same trade-offs from a supply perspective.
Testing adhesion before you commit
Professionals rarely trust a fingernail scratch. The standard method is a cross-hatch cut through the film, a pressure-sensitive tape pull, and comparison against a pictorial scale, the procedure set out in ASTM D3359. One sacrificial jar per batch exposes the two failure points that matter: weak cleaning and weak cure.
Preparing Glass Jars So the Paint Bonds
Preparation decides the outcome. Wash the jar in warm water with a few drops of mild detergent, strip every trace of label adhesive, dry it completely, then wipe the paint area with isopropyl alcohol and handle the jar by its base only.
Warm water removes dust and food residue but leaves an oily micro-layer behind. A wipe with 90 percent or higher isopropyl alcohol on a lint-free cloth takes it off and flashes away within a minute. Any polish or wax applied for display has to go, because it does exactly what you do not want: sit between the glass and the paint.
Removing labels and adhesive residue
Labels are the most common hidden source of failure, because the paper comes off long before the adhesive does. Soak the jar for 15 to 20 minutes, lift the label with a plastic scraper held at a shallow angle, then deal with the remaining glue using a paste of bicarbonate of soda and cooking oil, or a fresh alcohol wipe. Solvent-based removers work faster but leave their own residue. The full method is covered in this guide on how to remove labels from glass jars.
Drying, masking and handling
Paint will not bond to moisture, and a jar can look dry while water sits in the base radius. Dry upside down on a rack, then rest for 30 minutes. Mask straight lines with painter’s tape pressed firmly at the edges, and cut stencils from adhesive film so the design does not bleed. Once clean, the surface is contaminated the moment a bare finger touches it.
Step-by-Step: Painting Glass Jars
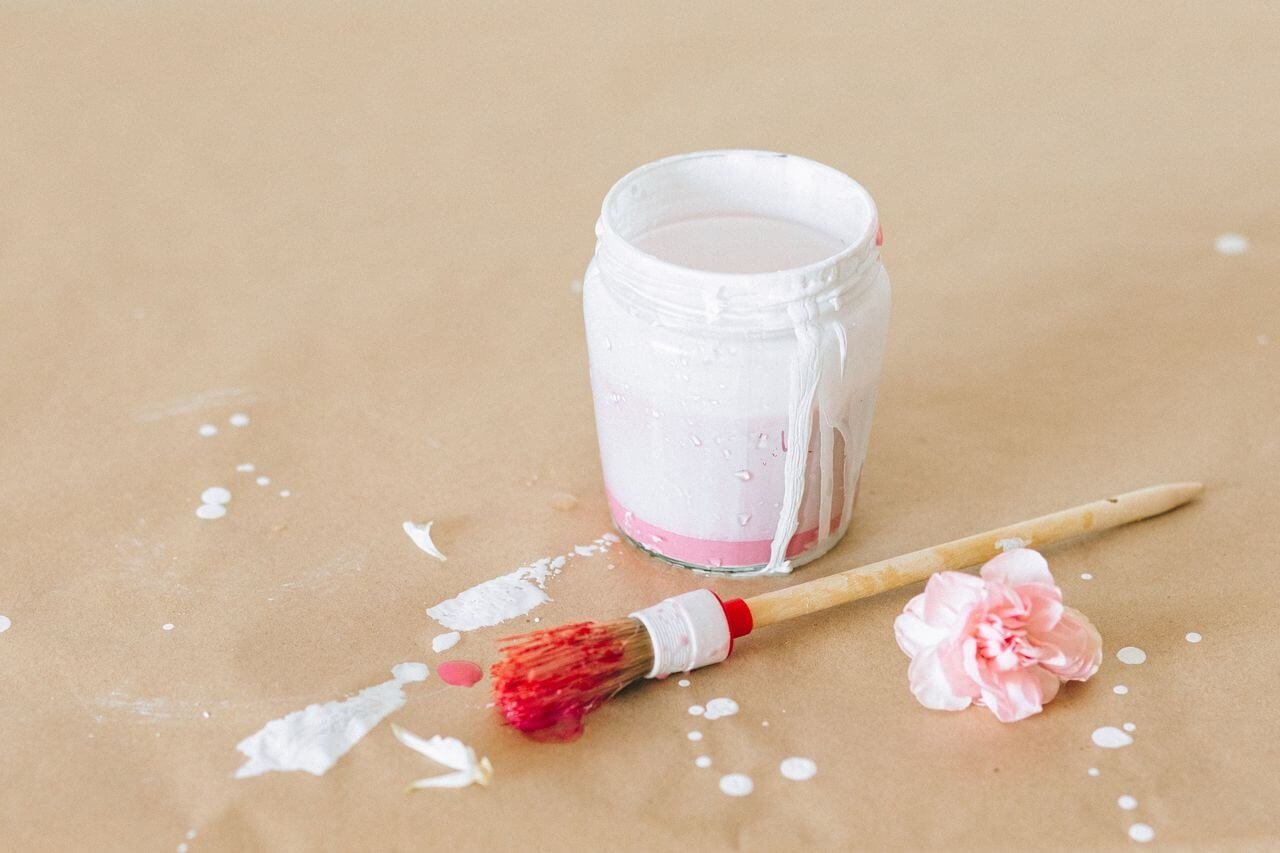
The sequence is select, clean, mask, prime, paint, dry, inspect, cure. Skipping the inspect stage is the most common reason a design looks muddy after curing, because trapped solvent only reveals itself under heat.
- Choose jars with smooth walls and no chips at the rim; painted edges are where cracks start.
- Clean and degrease, then dry completely.
- Mask whatever must stay clear, including the threads if a lid has to close.
- Apply a thin primer coat where recommended, and let it dry fully.
- Paint in thin, even coats from the top down, rotating the jar to avoid runs.
- Let each coat flash off for the stated interval, usually 20 to 30 minutes.
- Inspect under raking light for pinholes, thick patches, and missed areas.
Techniques worth testing
| Technique | Difficulty | Best paint | Watch out for |
| Solid colour coat | Low | Spray or acrylic enamel | Runs at the base radius |
| Stencil and tape patterns | Medium | Acrylic enamel | Bleed under soft stencil edges |
| Ombre and gradient | Medium | Spray or airbrush | Banding between passes |
| Frosted effect | Low | Frosting spray | Patchiness from uneven distance |
| Inside swirl tint | Low | Tinted adhesive mixture | Pooling if not drained |
For the inside swirl, pour a small volume into the jar, rotate until the wall is coated, then invert over a tray and drain for at least an hour; short draining leaves a ring at the base that never cures.
How to Make Painted Glass Jars Permanent
Permanence comes from curing, not drying. Bake the jar in a cold oven at 175 °C (350 °F) for 30 minutes and let it cool inside, or air-cure for three weeks with a glass-rated sealer, then wait 72 hours before the first wash.
It helps to know what the word enamel is doing in the product name. A true vitreous enamel is fired at roughly 750 °C to 850 °C and fuses into the glass, becoming part of the surface rather than a layer on top of it. Craft enamel paints cannot reach that temperature in a domestic oven, so they rely on low-temperature cross-linking. The reaction is real but partial, which is why handling rules for the first three days matter more than most instructions admit.
Air curing and its limits
Evaporation followed by slow coalescence of the binder. A thin acrylic film needs about 21 days at room temperature to reach full strength, longer in humid conditions or where coats went on heavily. Air-cured jars will not fall off a shelf, but they stay vulnerable to hot water, detergent, and abrasion.
Oven curing step by step
- Air-dry the painted jar for at least 24 hours, preferably 72, so solvent escapes before heat is applied.
- Place the jar unpainted side down on a tray and put it into a cold oven, never a preheated cavity.
- Set the oven to 175 °C (350 °F) and bake for 30 minutes once the set temperature is reached.
- Switch off and leave the jar inside with the door closed until fully cool, at least an hour.
- Wait 72 hours before washing, and never move a hot jar onto a cold surface.
Thermal shock, not paint chemistry, destroys most oven-cured projects: a jar that goes from 175 °C to a cool worktop can crack along the base. If the jar is not oven rated, skip this route and seal instead; whether ordinary Mason jars are oven safe depends on the glass and on how gradually it is heated and cooled.
Sealers, topcoats, and food contact
Sealers add a sacrificial layer that takes the abrasion instead of the paint. Water-based acrylic sealers dry clear and stay flexible; solvent-based coats are harder but can yellow, and some react with enamel films and turn them cloudy, so test first. Apply two or three thin coats rather than one thick one.
Food contact is a separate question from durability. Paint the exterior only, keep the film at least 25 mm below the rim, and never coat a surface that will touch food, drink, or a flame. A painted candle vessel should have an unpainted interior and a rim clear of the wax line.
Durability by cure method
| Cure method | Scratch resistance | Water resistance | Dishwasher | Recommended use |
| Air dry, no sealer | Low | Low | No | Short-term display |
| Air dry plus sealer | Medium | Medium | No | Decorative, dry storage |
| Oven cured acrylic enamel | High | High | Top rack, once rested | Handled jars, gift packs |
| Oven cured glass enamel | Very high | Very high | Top rack | Candle vessels, vases |
Troubleshooting Painted Glass Jars
Most defects trace back to three causes: contamination before painting, film thickness, and thermal behaviour during cure. Identifying which one applies saves an entire batch.
| Symptom | Likely cause | Fix |
| Paint lifts in sheets | Oil, adhesive, or soap film | Strip, alcohol wipe, repaint |
| Bubbles after baking | Solvent trapped under a thick coat | Dry longer, thinner coats |
| Visible brush streaks | Paint too thick or one-pass application | Thin slightly, soft brush |
| Cloudy or white haze | Sealer reacting with the enamel | Remove, reseal with compatible product |
| Cracks from the base | Thermal shock | Cold oven start, cool inside oven |
| Colour rubs off | Under-cured film | Complete cure and 72-hour rest |
Scaling Painted Glass Jars from Craft Table to Production
Hand painting stops being viable somewhere between a few dozen and a few hundred units, when colour consistency, cure throughput, and adhesion testing stop being things anyone can judge by eye. At that point the work moves to spray application, tunnel-oven curing, and batch-level testing.
Three constraints appear at once. Colour matching drifts between operators, because a shade mixed by hand never lands twice the same way. Film thickness varies across the surface, which shows up as patchy gloss and uneven wear. And curing capacity becomes the bottleneck: a domestic oven holds a dozen jars, while a seasonal order runs to thousands.
Production decoration separates those variables. Spray application in a controlled booth gives repeatable film weight, and a tunnel oven holds a stable temperature curve so every unit receives the same heat history. Inks are specified by end use, from organic systems for decorative work to more durable inorganic pigments for items washed repeatedly. Quality control shifts from inspection to measurement: adhesion by cross-hatch, abrasion by rub test, colour by instrument. Brands that need this built around their own jar specification usually work with a decoration partner rather than a paint supplier, which is the model behind these comprehensive painting services.
A workable specification answers five questions before production: which glass and mould, which surface is coated, which cure class applies, which wash cycle the item must survive, and what the acceptance test is. Written down, those answers prevent a shipment that looks correct on arrival and fails in the customer’s hands three weeks later.
FAQ
Can you paint glass jars with spray paint instead of brushing?
Yes, and for large batches it is often the better choice. Spray gives an even film with no brush marks and reaches awkward areas such as the shoulder and base radius. Use a product labelled for glass or apply an adhesion promoter first, work in thin passes from 25 to 30 cm, and build three light coats. Masking the threads is essential if the lid has to seal.
Do painted glass jars fade in sunlight?
Ultraviolet light is a slow but real threat. Pigments vary widely in lightfastness, and reds, yellows, and some fluorescent shades shift first. A jar on a sunny windowsill can change visibly within a season, while the same jar in shaded interior use may look unchanged for years. A clear topcoat with UV blockers slows the process without stopping it.
Can painted glass jars be used for drinks or food storage?
Only with strict limits. Paint the exterior, leave the interior and rim bare, and choose a coating system explicitly rated for food-contact use rather than a general craft product. Hand washing is safer than a dishwasher, and chipped films should be retired. For dry goods, an unpainted interior plus a lid with a clean sealing surface removes most of the risk.