Glass jar reuse has moved from a craft habit into a routine packaging decision. Brands ship candles and preserves in rigid containers, households accumulate them, and both sides want a second life for the material rather than a trip to the bin. What stops most people is not motivation but the moment the wheel touches the glass, when a container that looked simple cracks off line, chips at the rim, or shatters. Failed attempts on glass jars usually share three causes: an interrupted score, an uneven heat cycle, and a jar that was never a good candidate.
You cut a glass jar by scratching one continuous line around it, then forcing the glass to separate along that line, most reliably with an alternating hot and cold water cycle. A hardened wheel creates the line, a temperature difference of roughly 40 to 50 degrees Celsius opens it, and progressive wet sanding makes the rim safe to touch. Power tools are faster on curves, but the rule never changes: the score defines the cut, and the stress finishes it.
The sections below cover how the break propagates, which tools are worth owning, and how to get a straight rim on the first attempt.
What Really Happens When a Glass Jar Breaks Along a Line
Glass is not sliced. A hardened wheel removes nothing; it presses a narrow groove into the surface and leaves micro-fissures beneath it. That groove becomes the weakest path through the material, and the stress applied afterward concentrates there until the jar separates.
People who believe they are cutting press harder, crush the surface, and produce a ragged edge. People who understand scoring press consistently, move once, and let physics finish the job.
The Score Line Is the Whole Job
A scoring wheel is a hardened disc ground to an angle between 120 and 150 degrees. Drawn across clean glass under steady pressure, it opens a vertical crack a few microns deep, which is why a good line looks like a faint scratch rather than a groove.
Three habits decide the result. Go around once only, because a second pass creates a competing crack system and a stepped rim. Close the loop exactly, because a one-millimetre gap stalls the crack. Then keep pressure even, listening for a light dry hiss. Tape wrapped around the jar gives the wheel a straight reference, and a jig is better still.
How Thermal Shock Finishes the Cut
Glass conducts heat poorly, so a sudden surface change does not reach the interior quickly. The outer skin tries to expand or contract while the bulk of the wall resists, and the tensile stress concentrates at the score.
Container glass is soda-lime-silica, and its high coefficient of thermal expansion makes it sensitive to this effect. Standard container testing uses a differential of about 42 degrees Celsius to expose weaknesses, as described in this analysis of thermal shock breakage in container glass, which is why boiling water followed by ice water comfortably opens a scored line. Heat has to be applied evenly around the full line, or the break runs diagonally, and the jar should never be pulled apart by hand while under thermal load.
Tools and Materials to Assemble First
A basic kit is small: something to score with, something to create a temperature differential, and something to smooth the edge. Buy the abrasives before you need them, because a fresh rim is sharp enough to cut into a finger before you finish inspecting it.
| Item | Purpose |
| Hardened scoring wheel or glass cutter | Creates the continuous score |
| Cutting jig or bottle cutter frame | Holds the wheel at a fixed height |
| Boiling water and ice water | Heat and cold for the cycle |
| Wet and dry sandpaper, 80 to 1000 grit | Removes sharp edges, refines the rim |
| Gloves, safety glasses, respirator | Protection from shards and dust |
| Rotary tool with diamond disc | Curves, slots, thick bases |
Choosing the Right Cutting Tool for Jar Walls
Jars are harder to cut than bottles because many are wide, short, and interrupted by a shoulder, so the tool has to keep the wheel perpendicular to the wall.
| Tool | Accuracy | Learning curve | Curves | Best suited to |
| Jig with scoring wheel | High, repeatable | Short | No | Straight cuts on cylindrical jars |
| Handheld glass cutter | Moderate | Moderate | Limited | Short runs, jars that do not fit a jig |
| Rotary tool with diamond disc | High | Very short | Yes | Curves, windows, square jars |
For one jar, a cutter and a taped guide are enough. For a matching set, the jig pays for itself, because identical cut heights are nearly impossible to reproduce freehand.
Method 1: Score and Thermal Cycle
This is the standard approach and the one to learn first. Score once around the jar, pour boiling water over the line while rotating, then switch immediately to ice water. Repeat until the jar separates on its own. Most jars open within two to four cycles, and the ones that do not usually need a better score rather than more heat.
- Clean and dry the jar, stripping labels and adhesive.
- Wrap tape so its top edge sits on the cut line, at least 10 millimetres from any shoulder, embossing, or seam.
- Hold the cutter perpendicular, apply firm steady pressure, rotate one full turn, and stop when the ends meet. The line should be thin and continuous, with no white crush marks.
- Work over a sink or towel-lined tray, then pour a slow stream of boiling water onto the score while turning the jar, covering the full circumference for 20 to 30 seconds.
- Switch to ice water along the same line, still rotating. A faint tick means the crack is moving through the wall.
- Cycle back to hot water if nothing happens. Once the crack has travelled all the way around, the sections part with almost no force.
The same sequence works on containers with a narrow neck, and this guide on How to Cut Glass Bottles covers that geometry in detail.
When the Jar Refuses to Separate
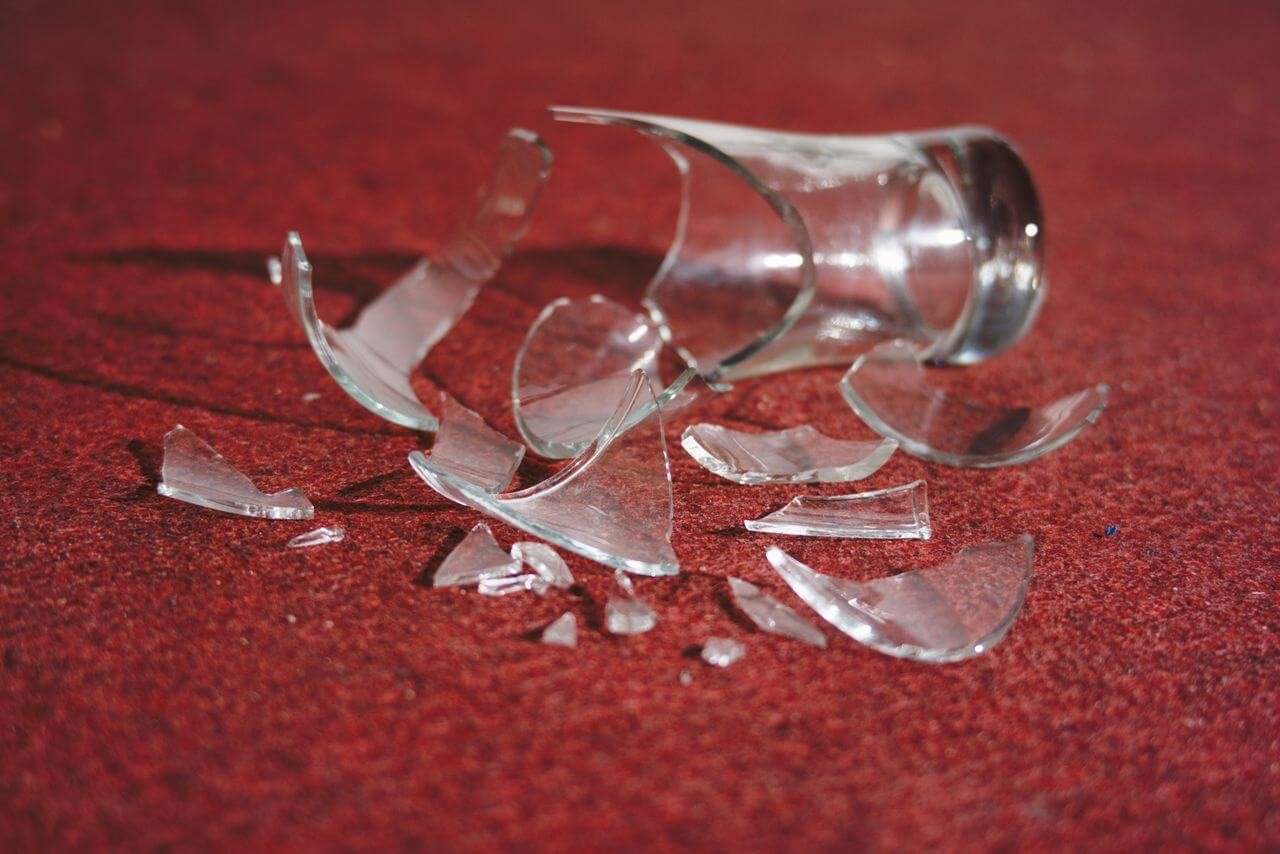
A jar that survives three cycles is telling you something specific. An incomplete score shows up as a dull section where the wheel skipped, uneven heating produces a local crack that stalls, and room-temperature tap water is not a shock. If the break jumps away from the line, stop, because the glass is unpredictable and not worth the risk.
Method 2: Diamond Wheel on a Rotary Tool
A rotary tool with a diamond disc removes material instead of relying on a fracture, which makes it the most controllable option for curves, openings, and thick walls. Keep water on the cutting point at all times, move slowly, and let the abrasive work rather than forcing the disc through the glass.
Cutting Curves, Slots, and Thick Bases
This is the only practical hand method for shapes that are not a simple circumference: a side window, a wick slot, a scalloped rim. Follow the marked path in one continuous direction, keep the disc perpendicular, and approach sharp corners from both sides, because the disc has a fixed radius.
Water carries away dust and keeps the diamond edge cool so the bond does not shed abrasive. Work with the jar in a sink under a slow tap, keep the tool body clear of the water, and replace a glazed disc early, since it skates and generates heat instead of cutting. This method has the shortest learning curve here, at the cost of noise, slurry, and a frosted edge that still needs sanding.
Method 3: String and Solvent, and Why It Ranks Last
The string method wraps a solvent-soaked cotton cord around the jar, lights it, and plunges the heated band into cold water. It works often enough to stay in circulation and fails often enough to be a last resort, and it combines an open flame with a flammable liquid beside a breakable vessel.
The cord must be pure cotton, since synthetics melt and clump instead of burning evenly, and the edge is usually wavier than a scored cut. With no score to guide the fracture, the break follows the heat band and wall thickness variation pulls it off course.
How to Cut Glass Jars Without a Glass Cutter
You can substitute other hardened tools that scratch glass, or power tools that abrade it. What you cannot substitute is the principle: something must create a continuous line of damage, and something must concentrate stress along it.
Substitute Scoring Tools
A carbide-tipped scribe produces a narrow, deep line and works well on flat sections, though a straight line around a cylinder takes practice. The corner of a triangular file scratches glass too, but leaves a rougher line, and replacement tile scoring wheels are cheap and adequate if you accept an angle optimised for ceramic. Household improvisations such as a bottle cap or a kitchen knife do not work, because they are softer than the glass or too blunt to create a controlled fissure.
Power Tool Alternatives
A rotary tool with a diamond disc handles curves as well as straight cuts. A wet tile saw manages long straight cuts on flat glass but is awkward on a round wall, while a diamond hole saw, run wet and slow, is right for a circular opening. For thick-walled or square jars, a fabricator with a waterjet or laser will cut without fracture risk and polish the edge in the same pass.
How to Cut Glass Without Breaking It
Breakage comes from one of three sources: geometry that fights the fracture, glass carrying hidden stress, or technique that introduces stress in the wrong place. Each cause has a different fix.
Geometry, Glass Quality, and Technique
A cylinder with parallel walls and a flat base is the easiest shape in glass. Where the wall turns inward at a shoulder, thickness changes and the fracture escapes the score, and on a square jar the thicker corners pull the break away from the thin panels. Annealing quality matters for the same reason, since a jar that cooled unevenly at the factory carries residual stress that adds to whatever the thermal cycle introduces.
| Symptom | Likely cause | Correction |
| Crack runs diagonally off the line | Uneven heating or an incomplete score | Rotate continuously, verify the score closes |
| Stepped or doubled rim | The line was scored twice | Start a fresh line, never re-score |
| Shatters into many pieces | Shock too severe on stressed glass | Warm the jar gently, reduce the temperature step |
| Crack stalls partway | Gap in the score, cold applied too early | Complete the line, extend the heating phase |
Finishing the Edge and Working Safely
A freshly separated rim is a cutting tool in its own right. Wet sanding in progressive grits removes the sharp arris and rounds both edges, while basic protection keeps the other two hazards, dust and heat, under control.
Work under running water or keep the paper soaked, since dry sanding releases fine dust into the air, and change direction between grits so you can see the previous scratches being replaced.
| Stage | Grit | Purpose |
| Shaping | 80 to 120 | Remove chips, high spots, and the burr |
| Levelling | 220 to 320 | Flatten the rim so it sits evenly |
| Refining | 400 to 600 | Remove visible scratches, soften the profile |
| Polishing | 800 to 1000 | Produce a satin to near-clear finish |
Dust, Edges, and Heat
Glass contains crystalline silica, and the respirable crystalline silica guidance from the Occupational Safety and Health Administration explains why repeated exposure is a serious lung hazard rather than an irritation, which is why wet methods are preferred over dry ones. Cut-resistant gloves protect against handling but not against a falling shard, so wear safety glasses whenever glass is under stress. Pour boiling water slowly, angle the jar away from the body, and keep the process inside a tray or sink.
Choosing Jars That Cut Cleanly
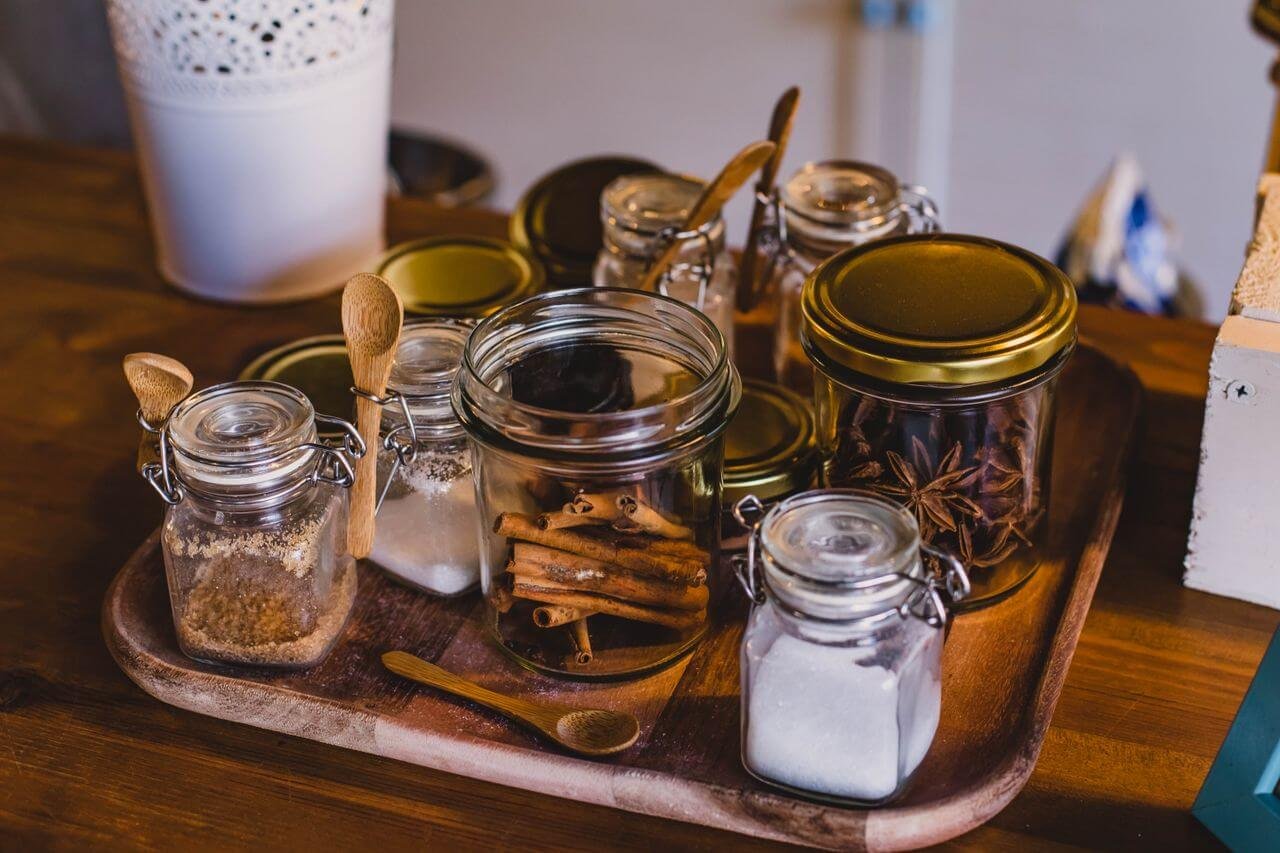
The best jar for cutting has uniform wall thickness, no embossing across the line, no visible seam, and a straight cylindrical section tall enough to work in. For storage projects that means a wide-mouth container with a flat base, which is the format most glass storage jars are designed around.
Wall thickness matters most and can be checked without tools. Shine a light through the jar and compare brightness across the wall, since a jar that is noticeably brighter on one side will pull the crack toward the thin side.
| Jar type | Cutting behaviour | Notes |
| Straight-sided cylinder | Very predictable | Best choice for a first attempt |
| Wide-mouth jar, short neck | Predictable | Large opening makes sanding easier |
| Tapered or conical jar | Moderate | Diameter changes, so keep the line level |
| Square, hexagonal, or thick-based jar | Difficult | Thicker sections deflect the fracture |
Scaling From One Jar to a Production Run
Hand cutting is a prototyping technique, not a production method. Once a design must be repeated thousands of times, wheel pressure, heat timing, and operator skill become cost, and the industrial answers are laser cutting, waterjet cutting, and CNC edge grinding, each trading setup cost for repeatable geometry.
If you are specifying containers rather than cutting them, wall thickness tolerance should keep the cutting height within a fraction of a millimetre, annealing quality should be controlled against hot-fill failure, and the closure should be specified with the body, whether that is Glass Jars with Lids Wholesale or another sealing system.
What to Do With a Finished Cut Jar
A cleanly cut jar becomes a usable container rather than a craft object. Dry storage, candle making, plant propagation, and open shelving display all avoid the two conditions a cut rim handles worst: internal pressure and repeated thermal cycling.
Reuse before recycling is the right sequence, because glass recycles indefinitely without loss of quality while recycled material lowers melting energy. The glass recycling facts published by the Glass Packaging Institute show the scale of that loop, with each additional 10 percent of cullet in the furnace mix cutting energy demand by roughly 3 percent. A cut jar is still not a canning jar, since the rim is no longer a machined sealing surface.
FAQ
The three questions below extend the practical side of the methods above: whether a cut edge needs heat treatment, how to judge a jar that is already damaged, and how far a finished rim can be trusted.
Do cut glass jars need to be annealed in an oven?
Annealing relieves internal stress, and a cut edge carries some. For decorative use, most home cut jars are stable without it. If the jar will hold a candle, a slow oven cycle followed by controlled cooling is the proper treatment, though most domestic ovens cannot ramp down slowly enough to do it well.
Can you cut a glass jar that is already chipped or cracked?
No, and this is the one rule worth treating as absolute. An existing chip or hairline crack is a stress riser that will decide where the break goes, regardless of where you score. Thermal cycling adds load to that flaw, and the jar can fail into several pieces with no warning. Recycle it and start with an intact container.
Is a cut glass jar safe for food and drinks?
A well sanded rim is safe to touch and to drink from, provided the edge has been refined through fine grits and no chips remain. It is not suitable for pressure canning, vacuum sealing, or anything that relies on a lid forming an airtight seal against the rim.